
Quick answer
Build your cam model room setup around the shows you can perform comfortably within a tested camera view. Map the room to scale, mark seated and standing zones, trace what enters the frame, and keep access paths separate from cables and storage. Record a walkthrough that includes movement and scene changes. For creators and studio operators, the winning layout is the one that returns reliably to a ready state between sessions.
Choose a cam model room setup you can repeat
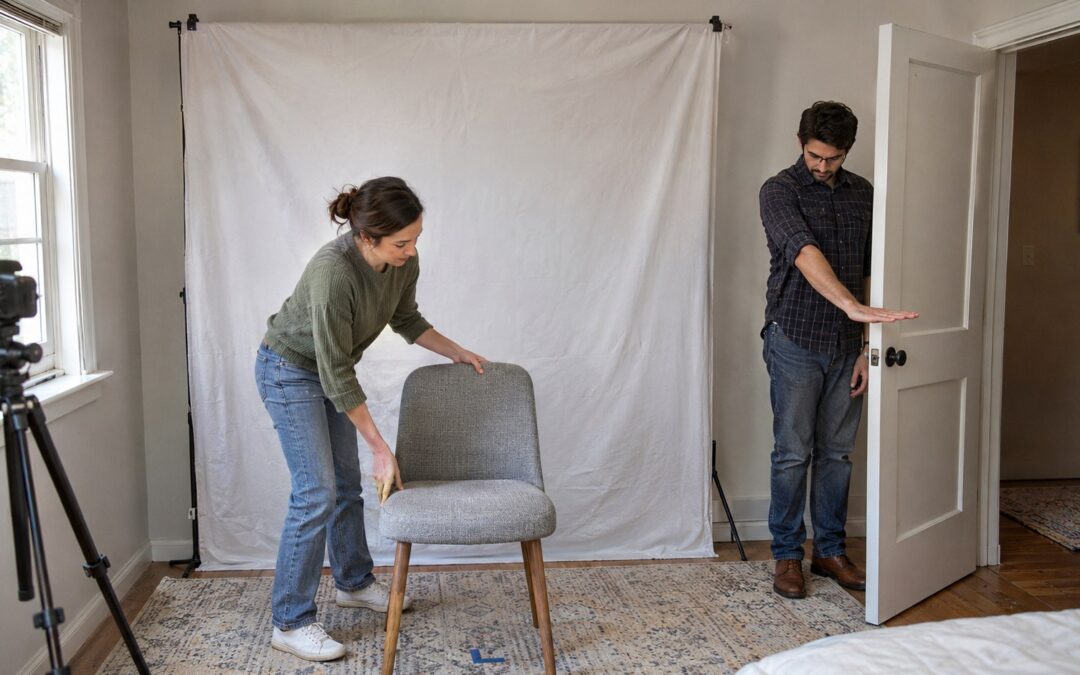
A chair looks perfectly placed until the creator stands up and reveals the laundry behind it. Plan your cam model room setup around movement and resets before decorating the frame. This applies whether you are an independent adult creator adapting a bedroom or an operator preparing rooms for a branded platform.
The room has to support several jobs at once: a visible performance area, somewhere to read chat, a route to the door, and somewhere for everything that should stay off camera. If these jobs compete for the same floor space, a tidy opening shot can unravel during a session. Start with the formats you intend to offer, then decide which furniture earns its footprint. A sofa that prevents a comfortable standing position is an expensive background.
Consider a hypothetical independent creator preparing a spare bedroom for seated conversation, standing segments and full-body movement. The initial plan puts a large chair against the nicest wall and hides supplies beside it. During a rehearsal, the chair blocks the route to storage; moving it exposes the supplies. The discovery changes the decision: choose the working area first, then fit the background around the movements the show actually needs.
Judge a candidate layout by observable conditions. Can the creator reach controls without leaving the intended view? Can they stand, turn and retrieve a prop without striking furniture or revealing an excluded area? Can the door open and the room be vacated freely? Can someone restore the arrangement without guessing? These questions turn taste into a workable brief. They also give an operator a way to discuss room quality without dictating a creator's personal style.
Draw a room-map worksheet before moving furniture
Use a scaled floor plan as the primary decision sheet. Draw fixed obstacles first, then movable furniture, performance zones, camera sightlines, storage and cable routes. The map records your proposal; the recording will determine whether it works.
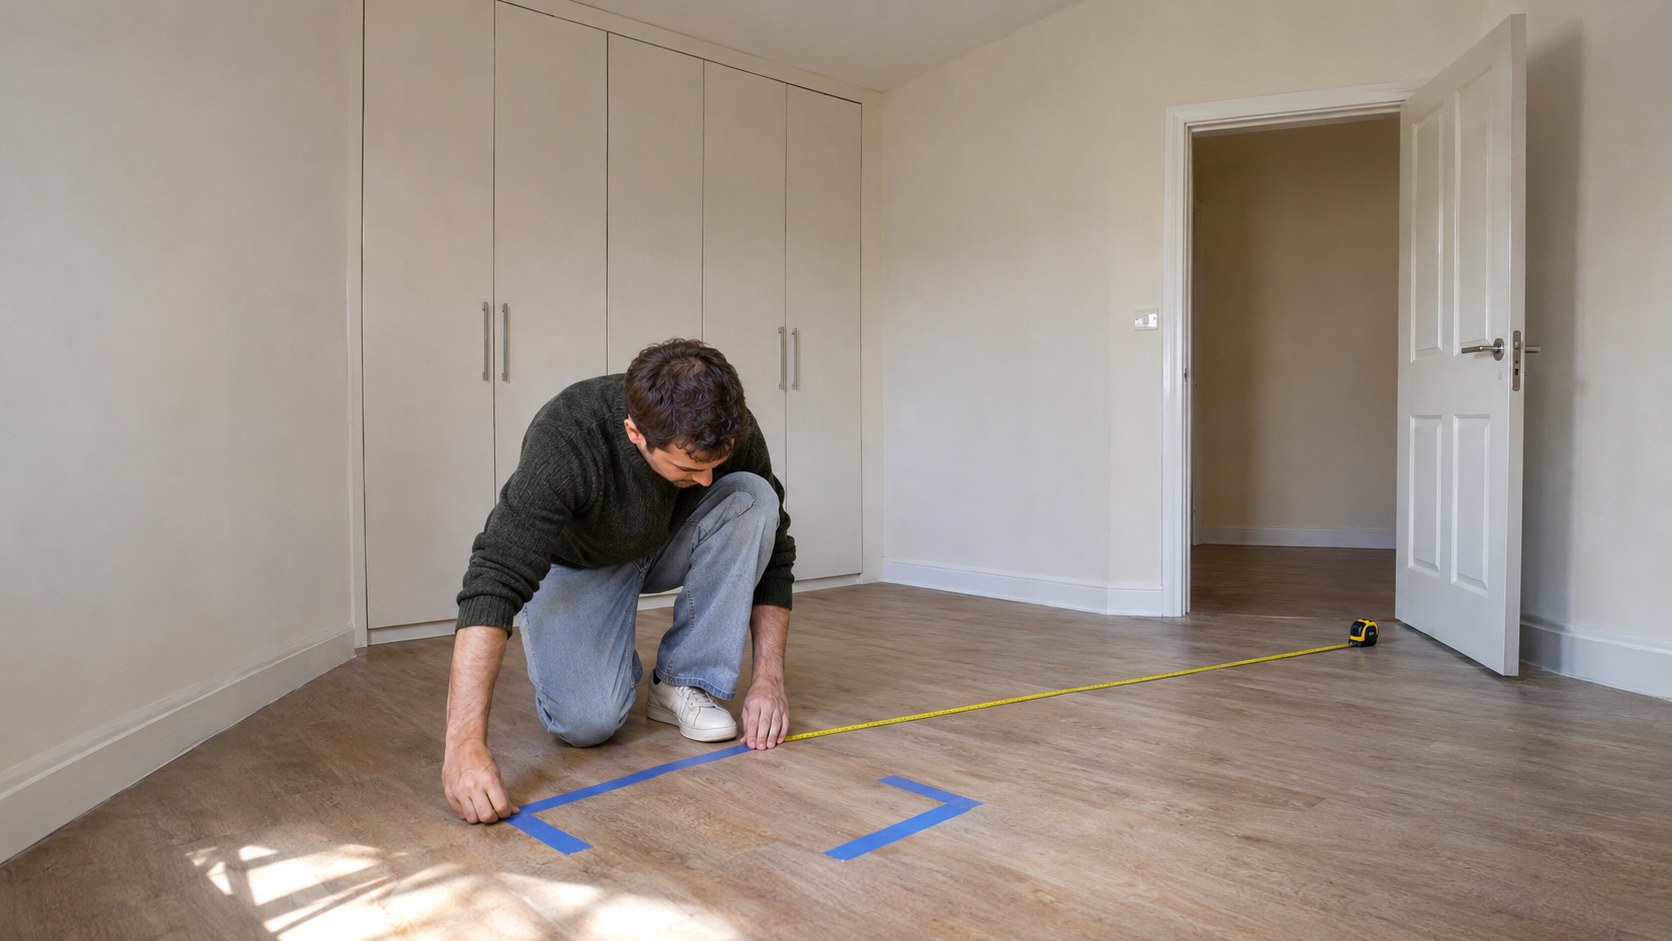
Measure the internal room dimensions and the depth of furniture you intend to keep. Choose a paper scale that fits your page and use it consistently. In our hypothetical worksheet, each square represents 0.25 metres; the assumed room is 3 metres wide and 4 metres deep, so draw it 12 squares wide and 16 squares deep. Mark the door's full swing, wardrobe access, sockets and fixed heaters before adding anything attractive. An empty rectangle conceals inconvenient architecture.
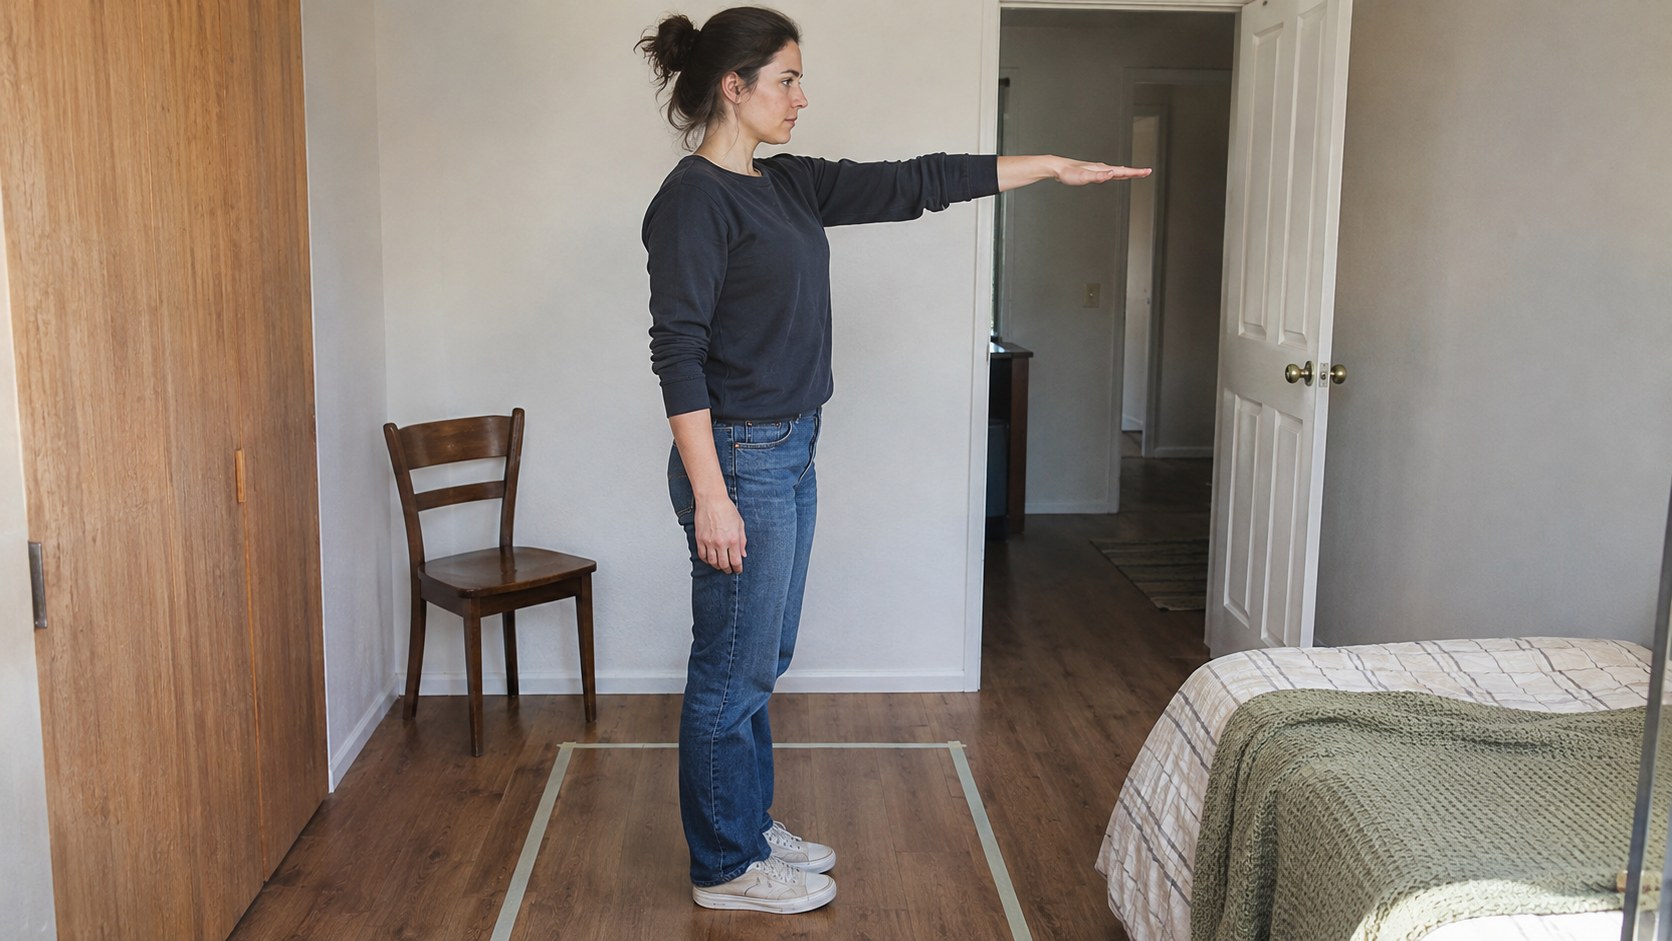
Make movable paper footprints for the chair, camera support and storage unit. Draw the creator's movement envelope rather than a dot for their feet: include the chair pulling back, arms extending and any planned turn. From the camera position, sketch the approximate outer edges of the view toward the background. Treat these lines as provisional until checked on the actual feed. Lens choice, capture settings and movement can expose areas the sketch misses.
| Map layer | Record on the worksheet | Acceptance check |
|---|---|---|
| Fixed boundaries | Walls, door swing, wardrobe access, sockets, heaters | Access and ventilation remain usable |
| Performance zone | Seated footprint, standing reach, full-body movement | Intended movement stays clear of obstacles |
| Camera sightlines | Camera footprint and approximate view edges | Recorded frame excludes private and storage areas |
| Background | Visible surfaces, reflections and movable decor | Composition survives standing and reaching |
| Service route | Cables, controls, supply storage and exit path | Supplies are reachable without crossing loose leads |
| Reset reference | Furniture marks, storage homes and reference still | Another rehearsal restores the same usable scene |
Add a pass, revise or remove decision beside each proposed scene. A full-body scene belongs on the schedule only after its entire movement envelope works with the real camera. If it fails, remove the blocking item or narrow the offered format; do not squeeze the movement into an unsafe gap. Keep the worksheet with a reference still so the plan describes both the floor arrangement and the image it produces. For shared rooms, record who may move each item and where it returns.
Test the same room for seated, standing and full-body scenes
Keep the room dimensions fixed while testing different furniture arrangements. In the hypothetical spare bedroom, the better choice is a movable chair and a clear central zone, provided the actual recording confirms that each promised scene fits.
Continue with the hypothetical 3-by-4-metre room and 0.25-metre grid. Assume the first layout reserves a 1-metre-deep strip against the back wall for bulky seating. That leaves 3 metres of room depth outside the strip, before allowing for the camera, access and separation from the background. This is a planning remainder, not a claim that 3 metres is enough for a full-body shot. The actual camera view and the creator's intended movements still decide that.
The rehearsal shows why floor area alone is misleading. Seated conversation fits, but standing requires dragging the chair across the camera lead. A turn reveals an open wardrobe at the edge of the picture. Replacing the bulky seating with a movable chair removes a fixed obstruction; it does not magically improve the lens. The creator places storage outside the verified sightlines, parks the chair in a marked off-camera position, and rehearses again with the same room and camera.
Build the background from the widest view you will actually use. Check shelf edges, reflective surfaces, doorways and gaps around a backdrop. A curtain can conceal storage only if it stays closed during movement and does not obstruct safe access or ventilation. Keep visual identity deliberate: a limited group of objects is easier to restore than a collection spread across every surface. Review the recorded image at the size a viewer will see, where small background details can become visual clutter.
If the revised layout still cannot contain full-body movement, retain seated and standing scenes and describe the offer accordingly. Expanding the advertised format before testing it creates a promise the room cannot keep. The distinction between public vs private cam shows matters here: a private session may require reachable controls and uninterrupted conversation while the creator changes position. Check that workflow before deciding which room arrangement to repeat across a studio.
Give cables, supplies and scene changes their own route
Keep the route between the creator, controls, storage and exit usable throughout the show. Route cables away from movement, give supplies fixed homes and design a reset that restores the tested arrangement rather than merely making the room look tidy.
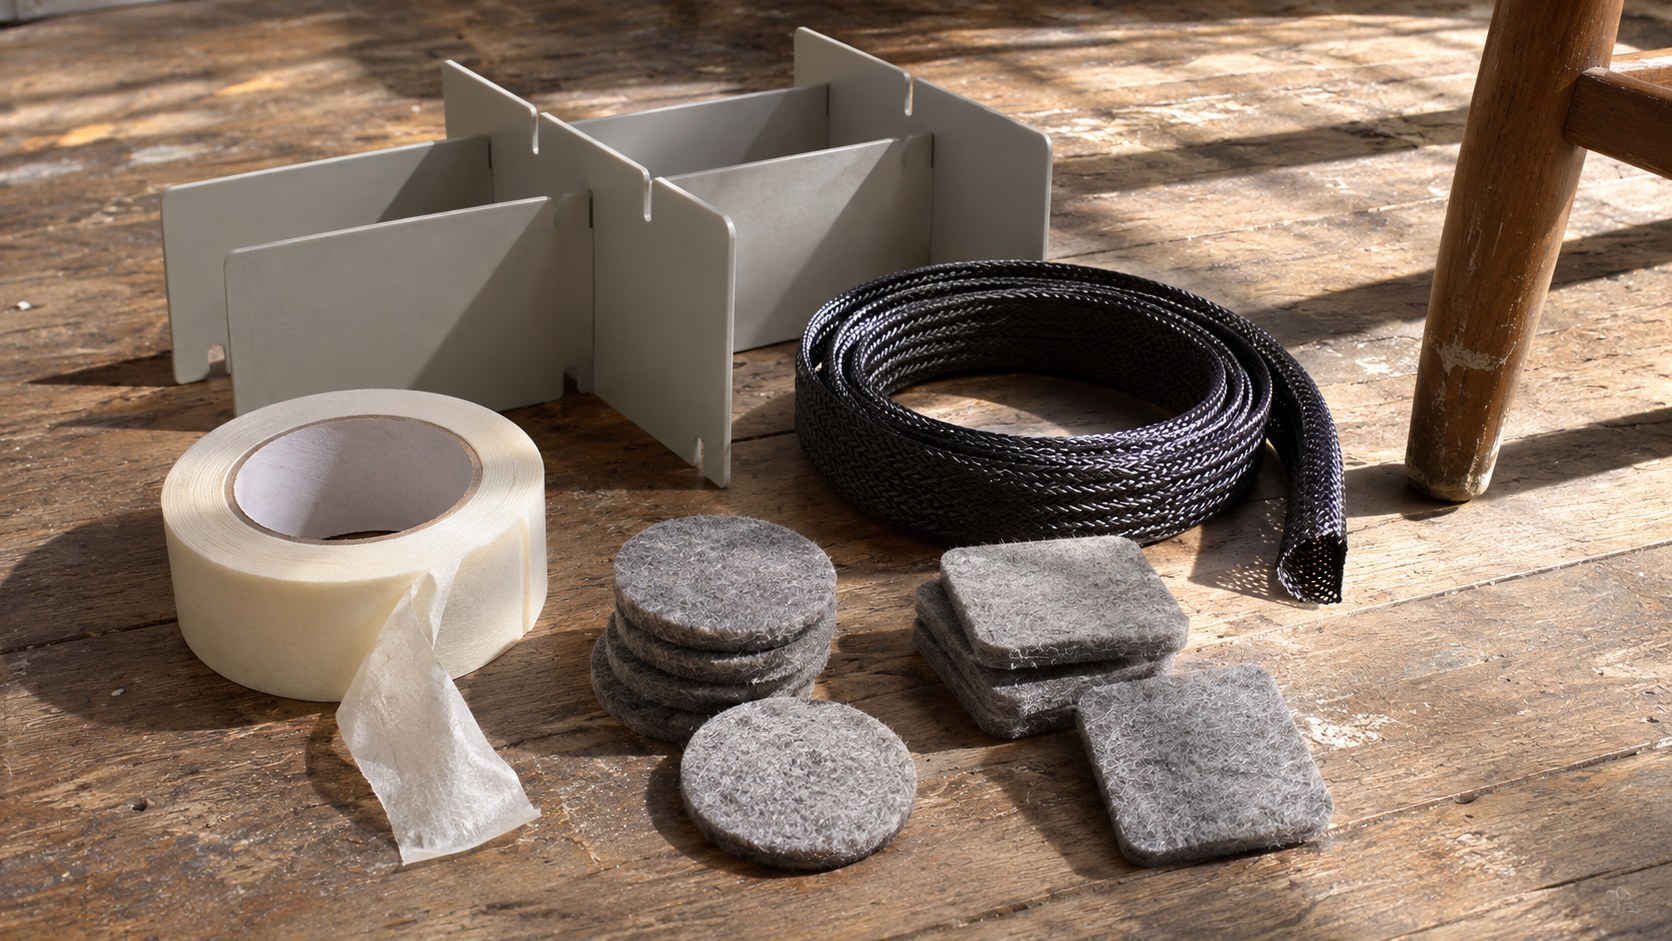
Trace each cable from device to connection before securing anything. Keep connectors accessible without leaving slack across the chair's wheels or the standing zone. Use suitable cable management that does not crush leads, strain plugs or create another trip point. If a route must cross an access path, reconsider device placement before treating a cover as the entire solution. Avoid permanent alterations in rented or shared rooms without permission, and seek qualified help for electrical changes.
Separate items needed during a session from spares used between sessions. Put frequently handled supplies within a comfortable reach that you have tested on camera; store packaging, cleaning materials and personal belongings elsewhere. Give the movable chair a parking position and photograph the ready state. In the hypothetical room, this resolves the original problem: the creator no longer has to move seating to reach hidden supplies, so retrieving an item does not become an improvised scene change.
Room planning also has an audible boundary. Listen for a rolling chair, a vibrating shelf, ventilation and noise from adjacent occupied spaces during the walkthrough. Rearranging a rattling object may solve a different problem from moving a microphone. Use the cam model microphone setup guide when the remaining issue is voice pickup or microphone placement; that decision deserves its own test. Comfort matters as well: a room that becomes unpleasant with equipment running may require a different schedule or location.
A shared bedroom may not support a permanent filming zone. Choose a reversible arrangement with storage containers and removable position marks, then verify it after each rebuild. A backdrop is not a substitute for controlling who can enter. For adult broadcasting, keep unverified people out of the production area and follow applicable age, identity, consent and platform requirements for every participant. Room design supports those procedures; it cannot establish anyone's eligibility or permission to appear.
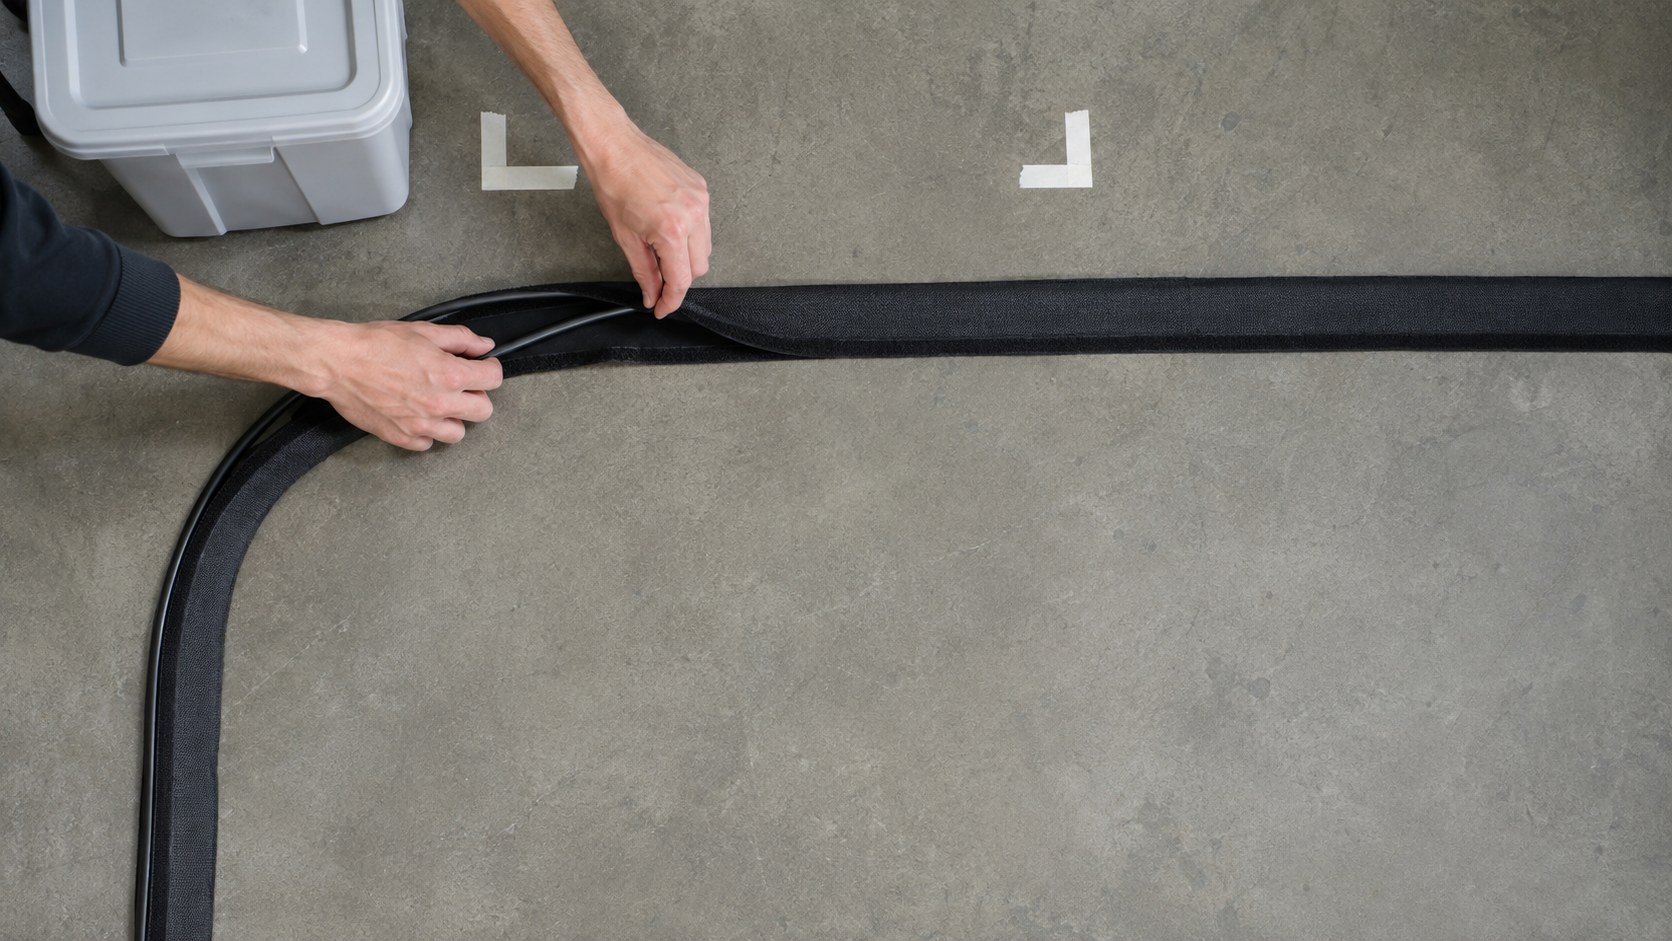
Record the walkthrough before committing to the layout
Approve the room through a private rehearsal using the intended capture workflow. Record the transitions as well as the settled scenes, inspect the result, and correct the specific failure before buying furniture or offering the format to paying viewers.
- Rebuild the proposed layout from the worksheet and reference still. Confirm the exit, door swing, ventilation and cables remain clear.
- Record seated conversation, standing, turning, reaching for supplies and returning the chair to its parked position. Include each planned scene change.
- Inspect the complete recorded frame for reflections, unintended entrances, exposed storage and movement beyond the intended view. Listen to the transitions too.
- Restore the ready state from your notes, then repeat the failed movement. Approve only the scenes that now work without improvisation.
Keep the rehearsal local or access-restricted, and use non-sensitive test material. Record the capture settings alongside the room reference because a changed crop can invalidate the old sightlines. After approval, repeat the relevant movement test whenever furniture or equipment position changes. Camera settings for camming is the adjacent guide when framing shifts because of capture configuration; this room audit deliberately stops short of prescribing exposure, lighting calibration or preferred camera angles. Note each failure against the relevant map layer, such as storage visibility or chair clearance. This makes the next revision specific and preserves a useful record when someone else prepares the room.
For an operator, the useful handoff is a room map, reference image, reset instructions and an honest list of supported formats. Confirm who handles chat while the creator moves; a cam room moderator can address that workflow when physical controls alone interrupt the session. If the next decision is to start your own cam site, carry those tested workflows into the platform brief. Specify the session types, controls and transitions you need to demonstrate, rather than asking software to compensate for an unworkable room.
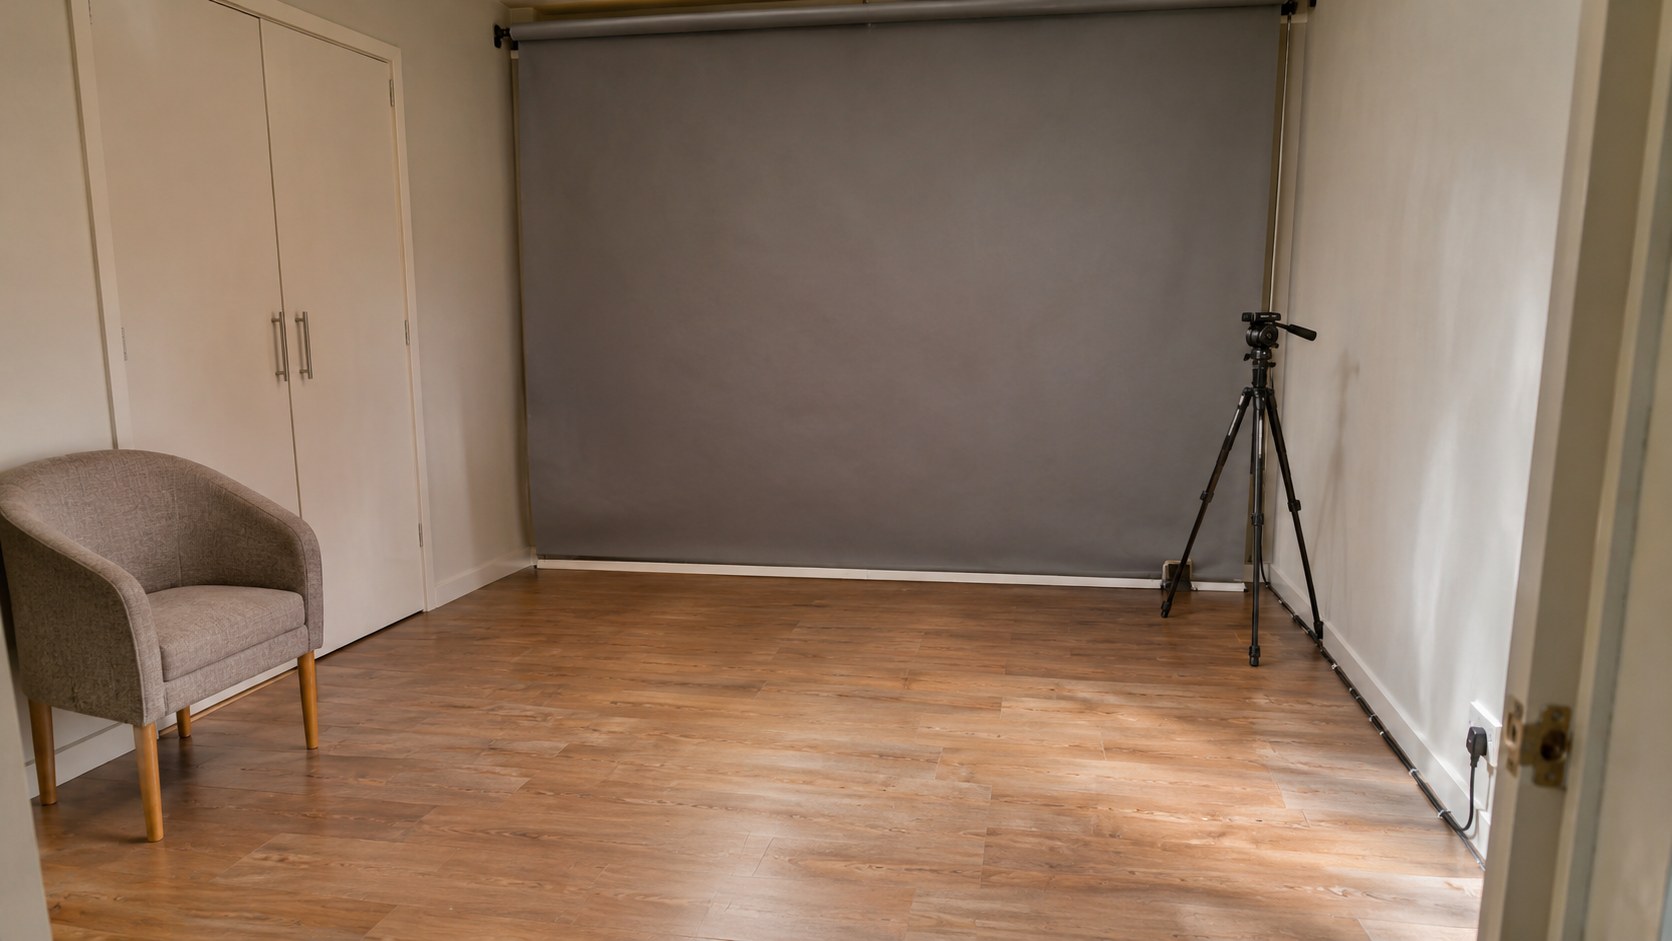
Take the tested room workflow into your platform demo
Once the physical scenes work, the platform decision becomes clearer. Scrile Stream is white label video chat software for operating under your own brand and domain, with private and group video, paid access, pay-per-minute sessions, tips, payment integrations and admin controls. Custom development and hosting support are available.
Bring your room map and rehearsal workflow to a consultation. Ask to see how your intended sessions operate and discuss any custom controls you require. Payment integration does not replace merchant approval, and platform software does not replace participant verification or consent procedures.
Frequently asked questions
How much space does a cam model room need?
There is no universal room size that guarantees a usable shot. Test the actual camera view, movement envelope, furniture and access routes. If full-body movement cannot fit comfortably, offer a narrower format rather than crowding the room.
Can I use my bedroom as a cam room?
Yes, if you can control access and reliably rebuild the tested scene. Keep personal storage outside verified sightlines, preserve normal room access and use a reversible layout when the bedroom serves other purposes.
Should I buy furniture before mapping the room?
Map existing furniture and test temporary footprints first. Buy only after the rehearsal shows which dimensions, movement clearances and storage functions the room actually needs.
Does a backdrop solve a cluttered room?
It can conceal a specific background area, but only within tested sightlines. It does not clear cable routes, stop unexpected entry or guarantee that movement will keep storage out of view.
How do I plan a full-body performance zone?
Mark the intended movement, including extended arms and turns, then record it with the real camera. Check the full frame and floor clearance. Reduce the offered movement or change the arrangement if either fails.
What should stay within reach during a show?
Place controls and session supplies where you can reach them comfortably without crossing cables or exposing excluded areas. Confirm the reach in rehearsal rather than assuming that an off-camera shelf is usable.
When should I repeat the room walkthrough?
Repeat the affected tests after furniture, camera position, capture crop or cable routes change. A shared room also needs a check after rebuilding because its previous recording may no longer describe the current scene.
Can streaming software fix a poor room layout?
Software can provide session and monetization tools, but it cannot remove physical obstructions or verify room access. Test the space first, then evaluate platform controls against the workflows the room can support.