

Quick answer
A reliable cam model microphone setup starts with the show format. Use a close directional microphone for a mostly seated show, a wearable microphone for frequent movement, and the phone's mic or a compatible external mic for mobile work. Place the mic consistently, set gain from the loudest realistic delivery, reduce room and music noise before adding filters, monitor a local recording, and save the verified configuration as a repeatable preset.
Choose a cam model microphone setup for the way you perform
Choose the microphone by movement and working distance, not by reputation or price. A seated performer usually benefits from a directional desk-mounted mic; a performer crossing the room needs a wearable option; a phone-based show needs a simple mobile chain that cannot be disconnected accidentally.
Start by mapping the show: where the model speaks, how often they turn away, whether music plays, and what must remain outside the frame. A microphone close to the mouth captures more voice relative to room reflections, fans, traffic, and computer noise. That advantage often matters more than a premium model placed across the room. Audio should also support the visual concept. The best camera for camming cannot rescue a stream in which viewers repeatedly ask what was said.
| Show situation | Best starting type | Main advantage | Main tradeoff |
|---|---|---|---|
| Mostly seated at a desk | Directional USB or XLR microphone | Stable placement and focused voice capture | The model must stay near its speaking position |
| Frequent standing or room movement | Wired or wireless lavalier | Voice level remains more consistent while moving | Clothing rub and battery or cable management require testing |
| Phone-based streaming | Phone microphone or compatible compact external mic | Minimal setup and fewer connection points | Room noise and handling sounds can be harder to control |
| Two people sharing the set | Separate close microphones where practical | Better balance between different voices | More routing, monitoring, and visual clutter |
Reject any option that works only when the performer remembers to lean toward it. The correct purchase is the simplest microphone that covers the normal performance area while keeping cables, mounts, and controls manageable. Choose the operating pattern first; then shortlist hardware.

Build the audio chain before adding filters
A clean chain follows one order: control the room, place the microphone, set input gain, balance any music, record locally, and only then add light processing. Filters cannot reliably repair a distant voice, a rattling mount, or music entering the microphone too loudly.
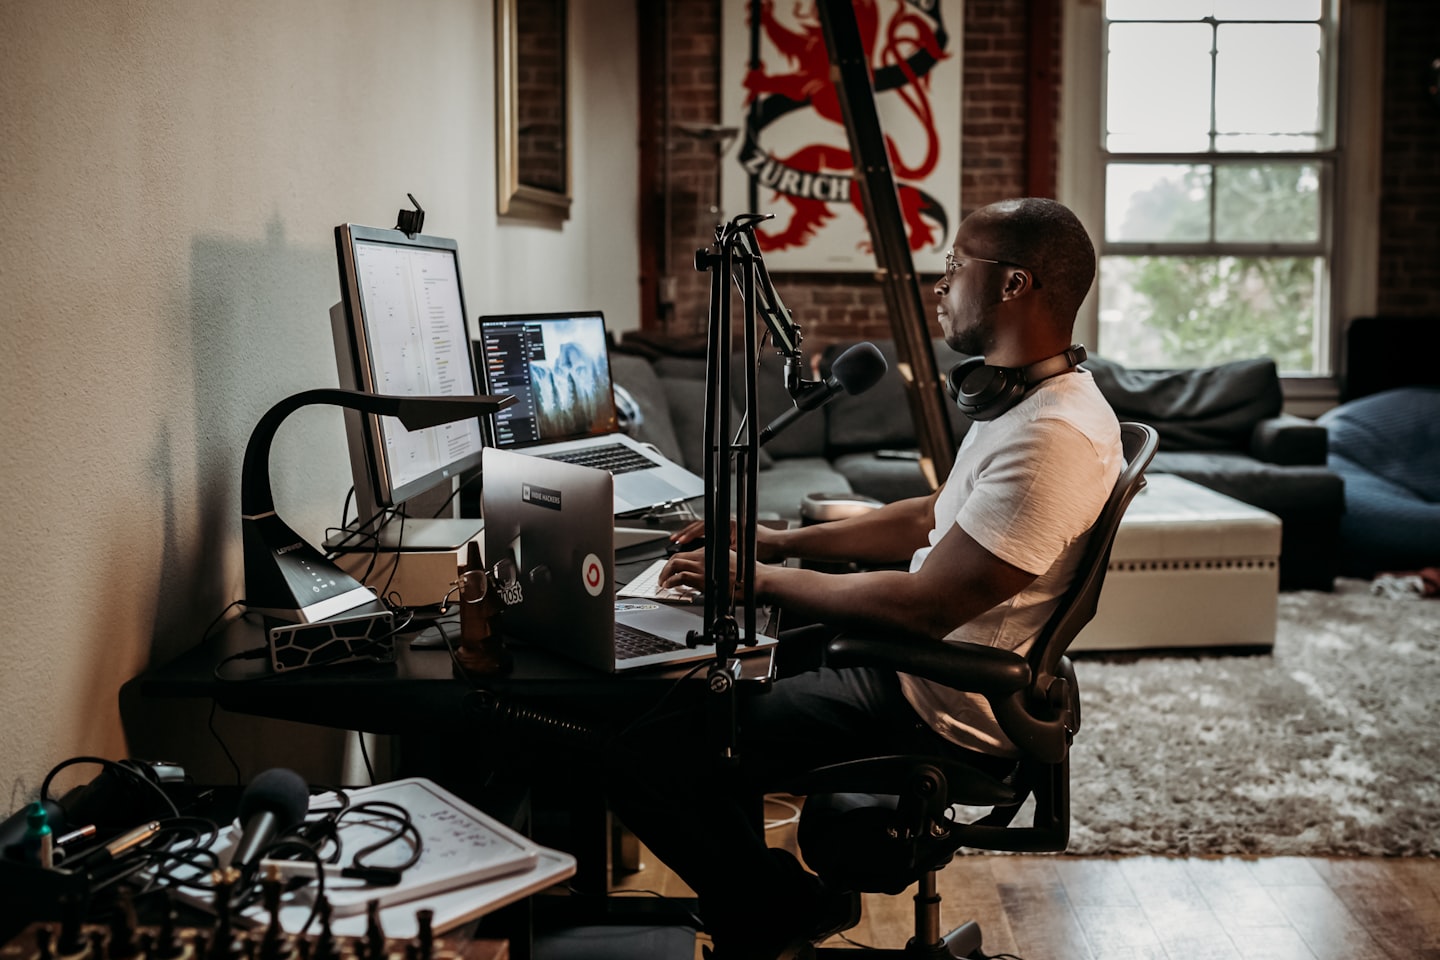
Place the microphone close enough that normal speech is dominant, but keep it away from direct breath and accidental contact. Aim the sensitive side toward the mouth and the less sensitive side toward the main nuisance source when the microphone design permits it. Soften an echoing room with existing furnishings, curtains, rugs, or bedding before buying acoustic decoration. Silence fans, buzzing lights, notifications, and automatic audio enhancements one at a time so the source of any change remains obvious.
- Record room silence, then normal speech, excited speech, movement, typing, and the intended music level.
- Replay through headphones and a phone speaker; listen for intelligibility, clipping, pumping, hiss, echo, clothing rub, and abrupt level changes.
- Change only one variable—placement, gain, music level, or one filter—then record the same script again.
- Name and save the winning input, device, and filter configuration so the next show starts from a known state.
Worked example: assume a seated model records three clips of twenty seconds each—voice alone, voice with music, and voice while turning toward chat. The total recorded material is sixty seconds. If the second clip masks consonants, lower or reroute the music before touching voice filters. If only the third loses clarity, placement or microphone choice is the fault. This isolates the failing condition instead of encouraging random knob turning.
Diagnose bad audio by symptom, not by shopping
When audio sounds wrong, identify when the fault occurs and adjust the earliest relevant part of the chain. Buying another microphone before checking distance, gain, room noise, music routing, and device selection merely gives the same problem a new receipt.
| What the recording reveals | Likely cause | First adjustment | Do not start with |
|---|---|---|---|
| Voice sounds distant or hollow | Microphone is too far away or the room is reflective | Move the mic closer and reduce hard-room reflections | Heavy equalization |
| Words distort during excitement | Input gain is too high | Lower gain using the loudest realistic delivery | Noise suppression |
| Hiss rises between sentences | Gain is compensating for distance or automatic gain is active | Move closer and check automatic processing | A severe noise gate |
| Music covers consonants | Music is too loud or enters through room speakers | Lower music and route it directly when possible | Boosting every voice frequency |
| Level changes while moving | Pickup area does not match the performance | Reposition the mic or choose a wearable option | More compression |
| Clicks, thumps, or rubbing appear | Desk vibration, cable contact, handling, or clothing friction | Secure the mount and cable, then repeat the movement | Replacing the computer |
Music is part of show design, not background wallpaper. Keep it below speech at the listener's end, and check whether it enters digitally or leaks from speakers into the microphone. A carefully built cam show tip menu and verbal prompts both depend on viewers hearing the offer immediately. If music makes the model repeat prices, names, or instructions, it is consuming attention rather than creating atmosphere.
Keep a short fault log with the symptom, the condition that triggered it, the single change made, and the result. This turns troubleshooting into an operating process that another model, moderator, or technician can repeat. The next action after any complaint is a controlled recording, not an online shopping tab.

Create separate presets for seated, moving, and phone-based shows
One universal preset is convenient but usually brittle. Create a verified setup for each recurring show mode, because microphone position, room exposure, music path, monitoring, and failure points change when the performer moves or switches devices.
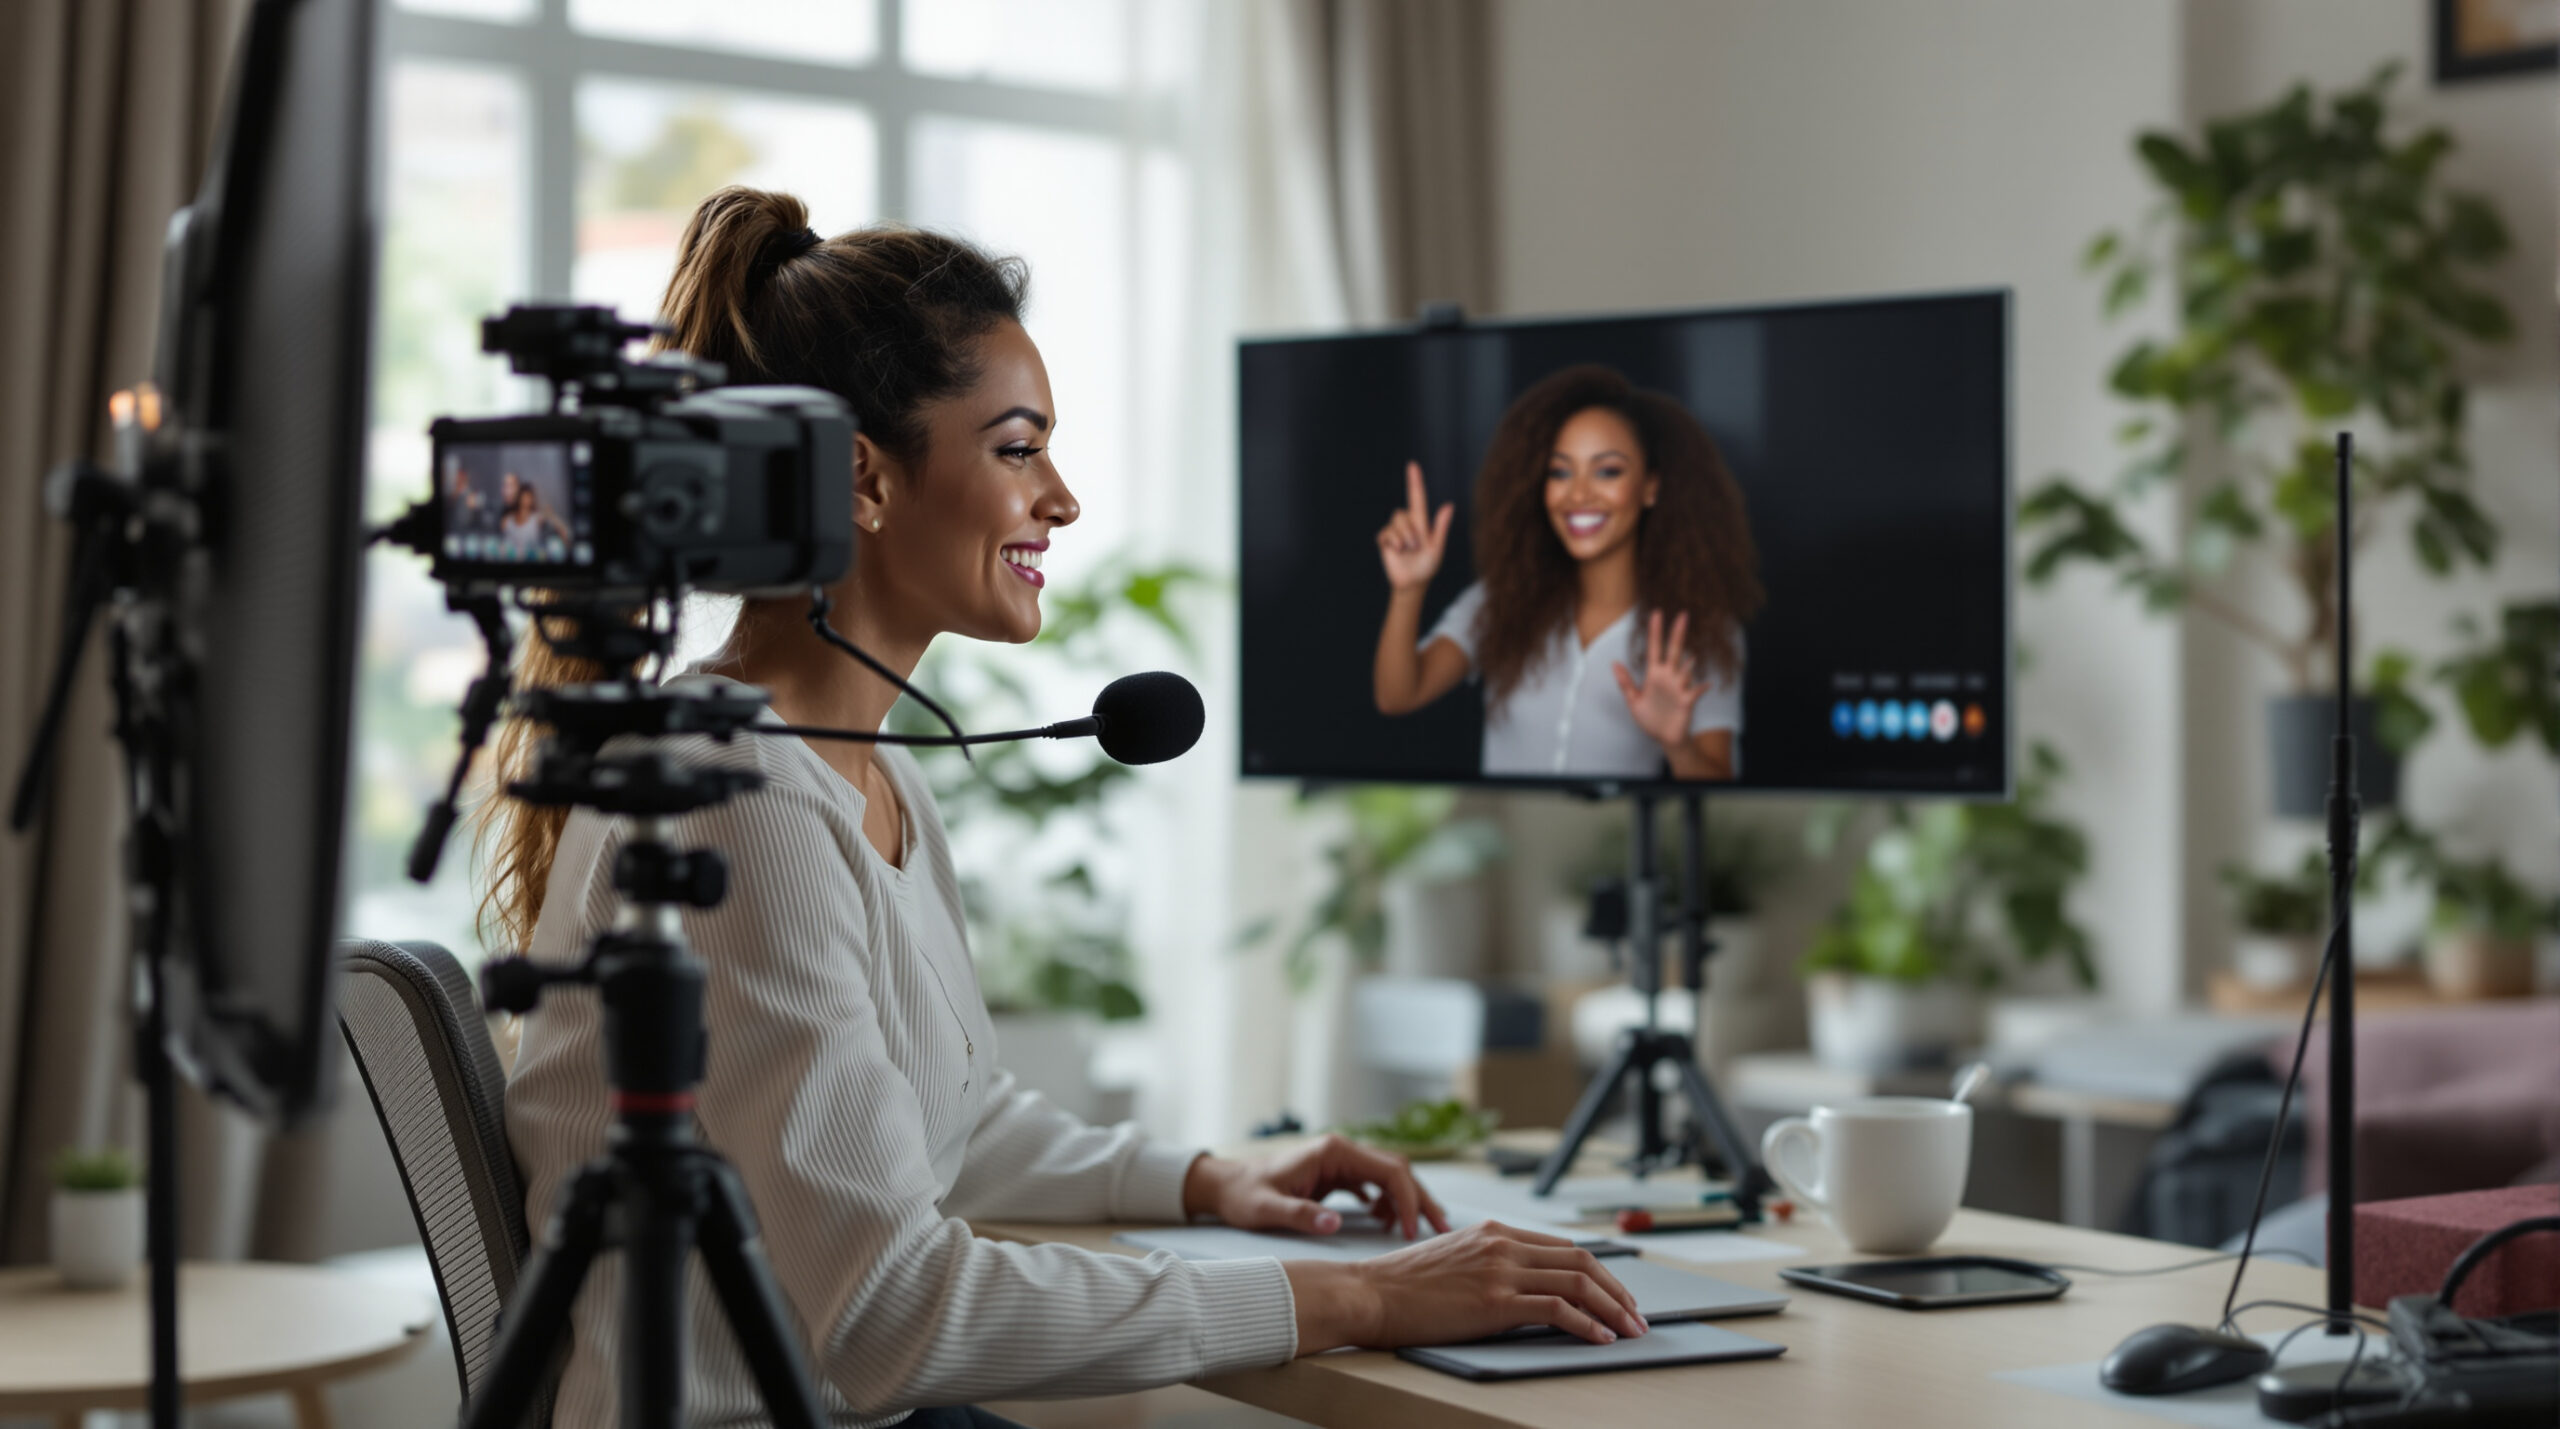
For a seated show, mark the microphone and chair positions, keep gain fixed, and prevent the desk arm from drifting. For a moving show, test clothing placement, turns, bending, and cable or transmitter security; monitor for rubbing rather than merely checking that a signal exists. For a phone show, confirm the selected input, charging arrangement, network stability, stand isolation, and whether notifications or incoming calls can interrupt audio. Treat each mode as a small production system with its own saved checklist.
- Seated preset: microphone position, chair position, input device, gain state, music path, and monitoring output.
- Moving preset: attachment point, cable route or battery state, full movement rehearsal, backup microphone, and mute access.
- Phone preset: device orientation, input compatibility, charging noise check, interruption controls, stand stability, and local test recording.
- Shared requirement: a spoken test replayed from the same viewer path used for the live session.
Audio consistency supports the broader work of learning how to plan a cam show: the performer can focus on pacing and interaction instead of watching meters. It also matters when choosing the best time to cam, because a late shift may introduce quieter delivery, household noise constraints, or neighbors that change the usable setup. Presets should reflect those realities rather than an ideal empty room.
Turn a working setup into a repeatable operating standard
Implementation is complete when another person can reproduce the sound, verify it before going live, and recover from a fault. The deliverable is therefore a short audio standard containing equipment, placement, settings, test material, acceptance criteria, and fallback steps.
- Define each show mode and the performance area that the microphone must cover.
- Select the simplest suitable microphone and remove controllable room-noise sources.
- Fix placement and set gain from the loudest realistic voice and movement.
- Add music through a controlled route, then apply only the processing that solves a recorded problem.
- Replay a local test on headphones and an ordinary phone speaker, then verify the actual viewer path.
- Save the configuration, photograph physical placement, document the fallback, and repeat the check before material changes.
For an independent creator, this standard reduces setup uncertainty. For an agency or platform operator, it becomes onboarding and support infrastructure. New performers can submit the same test sequence, moderators can describe faults with shared language, and support staff can distinguish a local capture problem from a streaming-path problem. That discipline is central to how to be a good webcam model at scale: reliable interaction is part of the product, not backstage trivia.
The limitation is that capture discipline cannot compensate for a poorly designed platform workflow. Device selection, private-room transitions, group modes, browser permissions, chat, payments, and moderation all meet during a live session. Founders should test audio across every monetized journey, including free previews, paid access, and private video chat, before treating the creator's preset as proven.
Acceptance criteria should describe what a listener can verify rather than demand studio perfection. Speech must remain understandable during normal movement, excited delivery must not distort, pauses must not expose distracting noise, music must not mask instructions, and the fallback must restore communication without improvisation. A creator who fails one condition should repeat only the relevant test after one controlled change. That approach keeps onboarding fair across different rooms, voices, accents, budgets, and show styles while giving operators evidence they can use when a support ticket reaches the platform team.
Make reliable audio part of the platform, not a creator-side hope
Once microphone capture is standardized, the founder's next decision is whether the platform preserves that quality through discovery, paid access, private rooms, group sessions, and support. That is an operating-system question as much as an equipment question.
Scrile Stream is white-label webcam software for branded, monetized video sites. It combines low-latency WebRTC and RTMP streaming options with private and group video chat, built-in chat, tips, pay-per-minute access, premium content, moderation tools, direct payment integrations, and an admin dashboard. Custom development, design, hosting, technical support, and project management are available for teams whose workflows require more than a standard launch.
Frequently asked questions
What type of microphone is best for a cam model?
A close directional USB or XLR microphone is a strong starting point for seated shows. Use a lavalier for frequent movement and a simple compatible mobile microphone chain for phone-based work.
Should a cam model use a USB or XLR microphone?
USB is simpler and suits many single-computer setups. XLR offers more flexible routing and component replacement but requires an audio interface and adds operational complexity.
How close should the microphone be?
Keep it close enough that speech clearly dominates room sound without obstructing the shot, capturing breath blasts, or inviting contact. Record normal and excited speech to find the repeatable position.
Why does my cam microphone sound distant?
The microphone is usually too far from the speaker, aimed incorrectly, or capturing reflections from a hard room. Move it closer and control the room before adding equalization.
How do I stop music from overpowering my voice?
Lower the music at its source and route it directly into the stream when the workflow supports that. Confirm the balance on a recording and an ordinary phone speaker.
Do I need noise suppression for camming?
Only if a recorded, unavoidable noise requires it. Strong suppression can damage quiet words and natural breaths, so remove the noise source and improve microphone placement first.
Can I use a phone microphone for cam shows?
Yes, particularly for mobile or simple shows. Test handling noise, stand vibration, charging interference, notification interruptions, input selection, and the complete viewer path before going live.
How should an agency standardize creator audio?
Define presets by show mode, use one recorded test protocol, document equipment and placement, set listener-based acceptance criteria, and give every preset a rehearsed fallback.