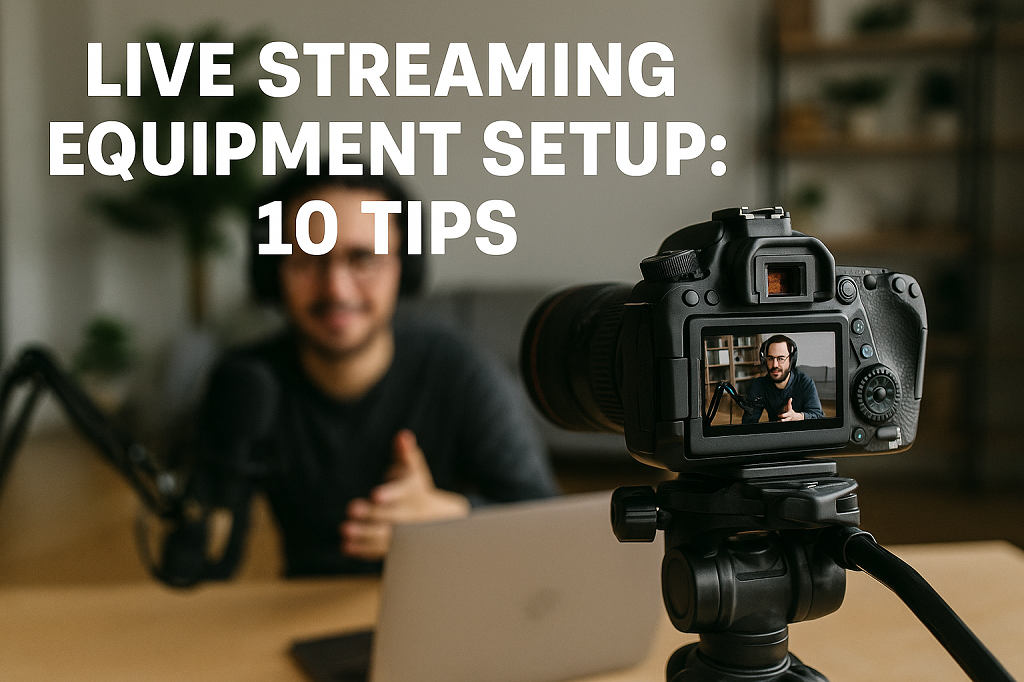
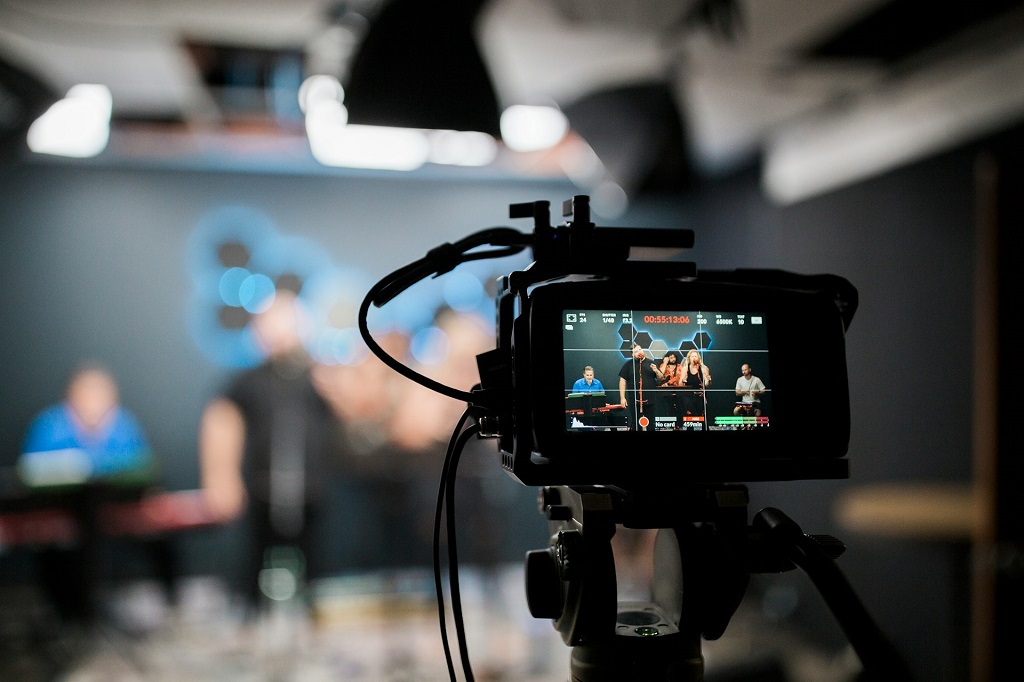
Let’s be honest: nobody sticks around for lag, echo, or grainy video. If your stream looks like a 2010 webcam chat, viewers will scroll past without a second thought. No second chances. The harsh truth? Most creators put all their energy into content and forget the backbone of it all — the live streaming equipment setup. Your mic crackles, your lighting’s too dark, your internet drops mid-sentence — and suddenly you’re not a creator, you’re background noise.
But here’s the good news: you don’t need a $10,000 studio to show up strong. Whether you’re just starting or finally ready to upgrade, this guide gives you ten clear, field-tested tips to get your streaming setup right — no fluff, no tech snobbery.
We’ll talk gear, software and even talk about what not to waste money on. And by the end, if you’re ready to own your whole platform instead of relying on Twitch or YouTube? I’ll show you how to build it with Scrile Stream.
Let’s get into it.
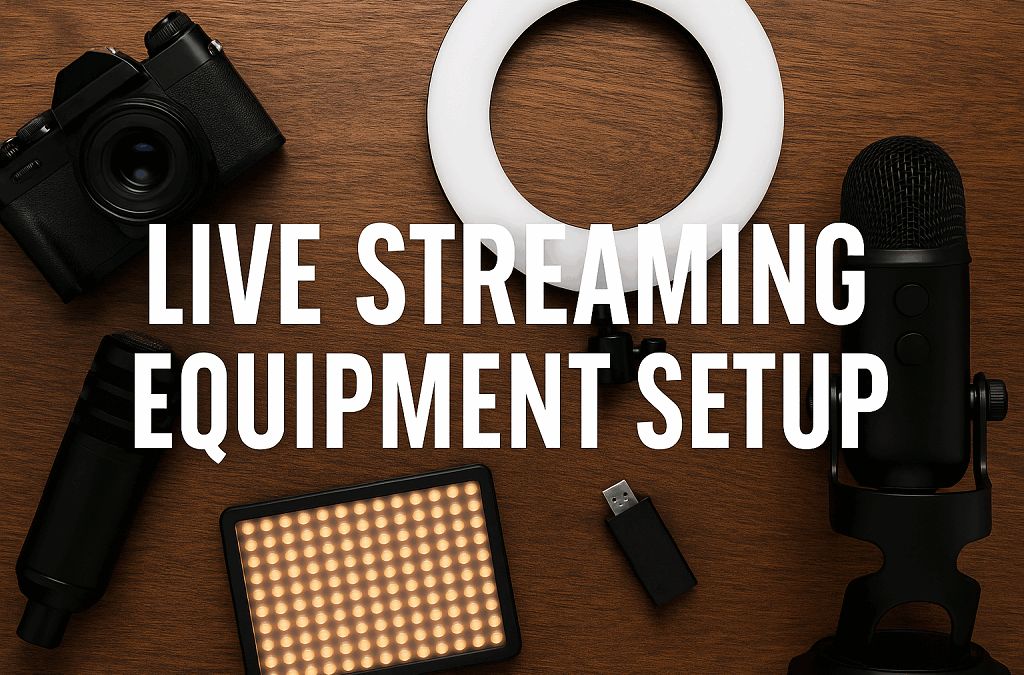
The Basics: Your Core Streaming Setup Checklist
Before you dive into overlays and effects, your streamer setup needs a solid foundation. You don’t need a NASA-level rig — but you do need the right tools to show up looking and sounding like you mean it. Here’s what to check off first.
Minimum Equipment to Get You Live
You can’t build a house without walls. Same goes for a live streaming equipment setup — and here’s your minimum viable kit:
- Laptop or PC: You’ll want something with at least 8GB of RAM, an i5 processor (or equivalent), and a solid-state drive (SSD). If you’re gaming or layering heavy effects, go for 16GB and a GPU like the NVIDIA GTX 1660 or higher.
- Camera or Webcam: A decent 1080p webcam like the Logitech C920 will get you surprisingly far. For extra depth and clarity, DSLR or mirrorless cameras with a capture card (like Elgato Cam Link) raise your game.
- Microphone: Audio matters more than video. A simple USB mic like the Blue Yeti or Elgato Wave sounds professional and plugs right in.
- Lighting: Even cheap ring lights make a huge difference. Natural light works too — but only if it’s consistent and in front of you.
- Internet Connection: Aim for at least 10 Mbps upload speed. Wired (Ethernet) is always better than Wi-Fi. Lag = lost viewers.
Keep it simple but stable. If it breaks midstream, no one’s sticking around.
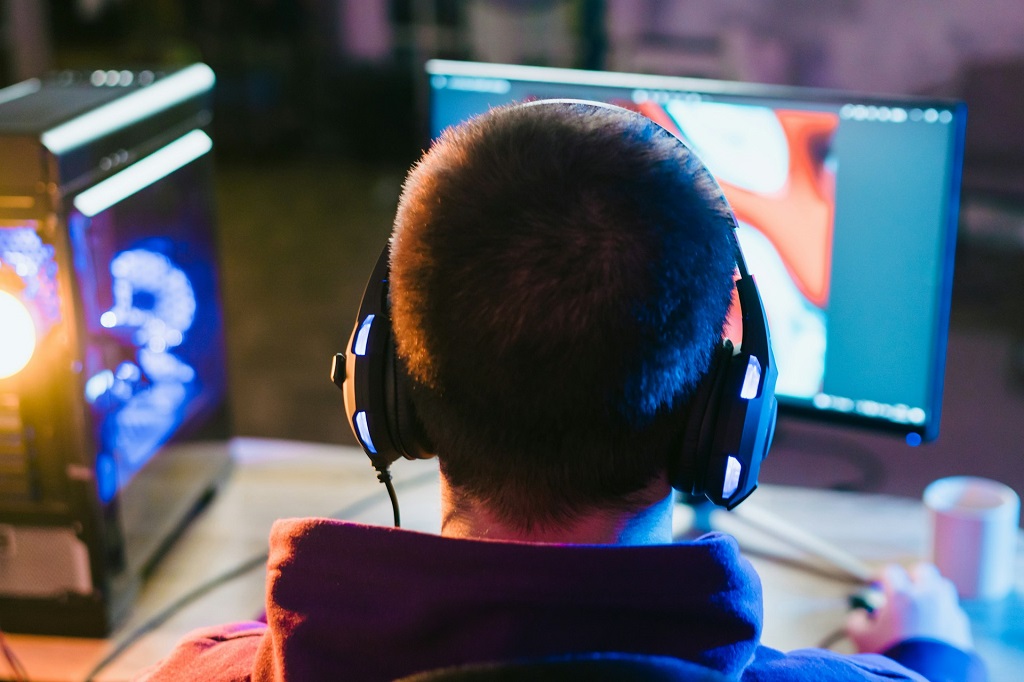
Streaming Software & Tools
Hardware makes you visible, but software makes you stream.
- OBS Studio: Free, flexible, and endlessly customizable — perfect for beginners and pros alike.
- Streamlabs: A friendlier version of OBS, with built-in themes, alerts, and tip jars.
- Restream: Lets you broadcast to multiple platforms at once — Twitch, YouTube, Facebook — without extra strain on your computer.
What matters most? Not just what tool you use — but how well you set it up. Audio sync, bitrate settings, and overlays can make or break the viewer experience. Spend time here. It shows.
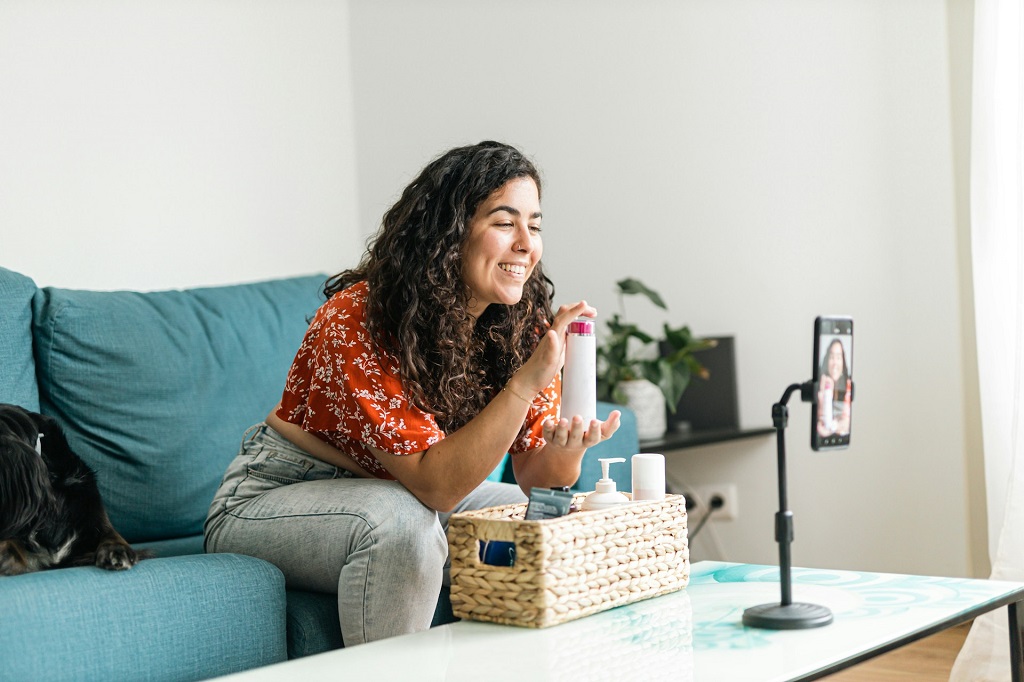
Budget Streaming Setup: Yes, You Can Start Cheap
Starting your stream shouldn’t mean draining your wallet. You don’t need studio gear to show up professionally — just smart picks. This section is for creators who want quality without the pain of a maxed-out credit card.
Gear That Works Under $300
You’d be surprised how far you can go with a budget streaming setup if you know where to look. Here’s a killer combo that gets you on-air and looking sharp — all for under $300.
- Webcam: The Logitech C920 still dominates for a reason. Crisp 1080p, reliable autofocus, and easy setup — all around $60–70.
- Mic: The FIFINE K669B or TONOR USB condenser mics offer clean sound for under $50. No one wants to hear your room echo — and these kill the noise.
- Lighting: A $25 ring light is non-negotiable. It brightens your face, reduces shadows, and stops that weird horror-movie glow.
- Tripods & Mounts: Don’t put your webcam on a stack of books. A $15 tripod makes a big difference in angle and stability.
- Software: OBS Studio is completely free and more powerful than half the paid tools out there. Canva lets you build basic overlays for nothing.
This cheap streaming setup is bare-bones, but it works. What matters most is how you use it.
What You Shouldn’t Cut Corners On
Some things just aren’t worth downgrading.
- Audio: People will forgive blurry video. They won’t forgive crackly, low-volume, or echo-filled sound. Your mic is more important than your camera.
- Lighting: Viewers connect through eye contact and facial expression. If they can’t see your face clearly, they won’t connect. Period.
You can start streaming with budget gear. But spend smart — don’t go cheap in the wrong places. A clear voice and a well-lit face will carry your content way further than any logo or overlay ever could.
Upgraded Setup: Streaming Like a Pro Without a Studio
Once you’ve nailed the basics, it’s time to raise the bar. This isn’t about flexing gear — it’s about giving your audience a smooth, immersive livestream setup that makes you look and sound like you’ve been doing this for years.
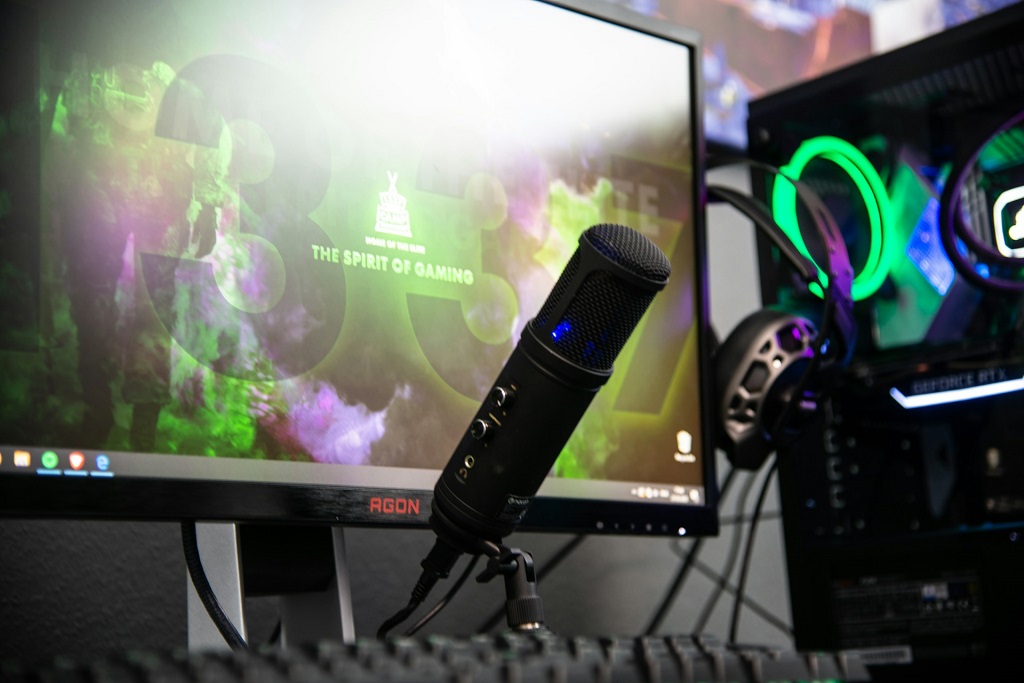
Intermediate Gear for More Control
Let’s talk upgrades that actually move the needle:
- DSLR or Mirrorless Cameras: Swap that webcam for a Sony ZV-E10 or Canon M50. Run it through an Elgato Cam Link capture card, and boom — studio-level video.
- XLR Mics + Audio Interfaces: USB mics are great, but XLR (like the Rode PodMic or Shure SM58) paired with a Focusrite Scarlett opens up cleaner sound and better control.
- Dual Monitor Setup: One screen for your stream, another for chat, alerts, or managing OBS. Once you try this, you’ll never go back.
- Key + Fill Lighting: No more flat, overexposed face. Use a softbox key light and a dimmer fill on the other side. Instant depth, zero shadows.
It’s not about being flashy — it’s about control, reliability, and vibe. That’s what gets people watching longer.
Stream Room Layout & Ergonomics
Even a tiny room can feel pro if you set it up right.
- Your Background: Keep it intentional. Add some LEDs, a shelf with personality, or a soft curtain backdrop. Hide the laundry.
- Desk Position: Don’t face a blank wall unless you love looking bored. Try angling the desk toward natural light or into the room.
- Camera Angle: Eye-level or slightly above. Never low — nobody wants to look up your nose.
Remember, you don’t need a warehouse-sized studio to look pro. You need smart layout, consistent lighting, and gear that works with you — not against you. This level-up takes effort, but once it’s done, you’ll wonder how you ever streamed without it.
The Comparison Table: Budget vs Standard vs Pro Setup
| Component | Budget Setup | Standard Setup | Pro Setup |
| Camera | Logitech C920 / Smartphone | Mirrorless (Sony ZV-E10) via USB | DSLR (Canon EOS R) + Capture Card |
| Microphone | USB Mic (Fifine, Blue Snowball) | Blue Yeti / Elgato Wave 3 | XLR Mic (Shure SM7B) + Audio Interface |
| Lighting | Ring Light / Desk Lamp | Softbox Kit / LED Panels | 3-Point Lighting (Key/Fill/Backlight) |
| Software | OBS Studio (Free) | OBS + Canva + Chat Bots | OBS + Stream Deck + Editing Suite |
| Price Range | $100–$300 | $500–$900 | $1500+ |
Common Pitfalls (and How to Avoid Them)
Here’s the thing: most people don’t mess up their live streaming equipment setup because they bought the wrong camera. It usually goes deeper — like buying way too much gear too soon. There’s this temptation to build the “perfect” setup straight out of the gate. The result? A mountain of gadgets you don’t need, barely understand, and never actually use.
Another killer mistake is ignoring your upload speed. Streamers get caught up chasing 4K cameras and pro audio interfaces, then forget to check if their Wi-Fi can even handle the bitrate. Your stream could look like a blockbuster… and still lag like a slideshow if your internet can’t keep up. So yes, bitrate matters. Always test it — don’t guess it.
Clutter is another silent saboteur. Not just visual clutter — although random boxes or laundry piles in the background won’t do you any favors. Sound clutter too. If your mic picks up every keyboard tap, AC hum, or weird room echo, your stream becomes hard to watch. People might not even tell you. They’ll just quietly leave.
And let’s not ignore the human side of streaming: panic. That moment when you’re about to go live and suddenly forget what button does what. Tech overwhelm hits hard when you haven’t practiced. The best antidote? Dry runs. Set up your streaming setup, hit record, and talk like it’s real — even if no one’s watching yet. The more comfortable you are with your gear, the less it owns you when it matters most.
Avoid these pitfalls, and you’re not just building a setup. You’re building confidence, clarity, and the kind of stream people actually want to stick around for.
Add-On Gear Worth Considering
Once you’ve nailed your basic live streaming equipment setup, it’s tempting to call it a day. But some accessories don’t just add polish — they fix problems before they happen. These extras can take your stream from “good enough” to “can’t stop watching,” especially if your content depends on visuals, smooth flow, or consistent uptime.
If your background is distracting or just plain dull, a green screen can help clean it up. Want slick transitions or lightning-fast scene changes? A stream deck is your new best friend. And if you tend to lose your train of thought mid-sentence, a compact teleprompter can keep you on script without killing eye contact.
Audio is another place where upgrades shine. If you can’t hear your own output, how do you know what your viewers hear? Audio monitors let you catch echo or imbalance fast. And if your space has weird acoustics or a lot of reverb, a few noise-dampening panels go a long way.
Cable chaos and power loss are easy to overlook — until they end your stream. That’s why USB hubs, cable organizers, and battery backups are small investments with huge returns.
Add-ons to consider based on your goals:
- Green screen for background control
- Stream deck for real-time commands
- Teleprompter for smoother delivery
- Audio monitors for live sound checks
- Noise panels for cleaner audio
- USB hubs to reduce plug-and-play chaos
- Battery backups for uninterrupted sessions
The best time to add this gear isn’t “when you can afford it” — it’s when your stream goals demand it. Don’t just buy gear for the flex. Buy what fixes real problems and fits the kind of experience you want to deliver.
Optimize Everything: Settings, Scenes & Streaming Workflow
You can spend thousands on the perfect camera or mic, but without dialing in your settings, your stream can still fall flat. It’s not just about pushing the “Go Live” button — it’s about knowing what your stream is sending out into the world. Tools like OBS or Streamlabs let you fine-tune things like resolution, frame rate, and bitrate, which directly affect how smooth and sharp your video looks. Tweaking these properly can mean the difference between a crisp stream and a pixelated mess.
Your scenes also matter more than most beginners think. Smooth transitions, camera framing, and overlays keep your stream feeling professional and focused. It’s not just aesthetics — it’s attention span control. A cluttered screen or clunky switch between scenes can instantly drop engagement.
But even with the perfect setup, things can go wrong. Having a local recording of your stream can save your content if a crash happens mid-broadcast. Redundant internet options or an uninterruptible power supply give you one less thing to worry about. The real pros aren’t just polished — they’re prepared for when things break.
Scrile Stream – Build Your Own Video Streaming Platform
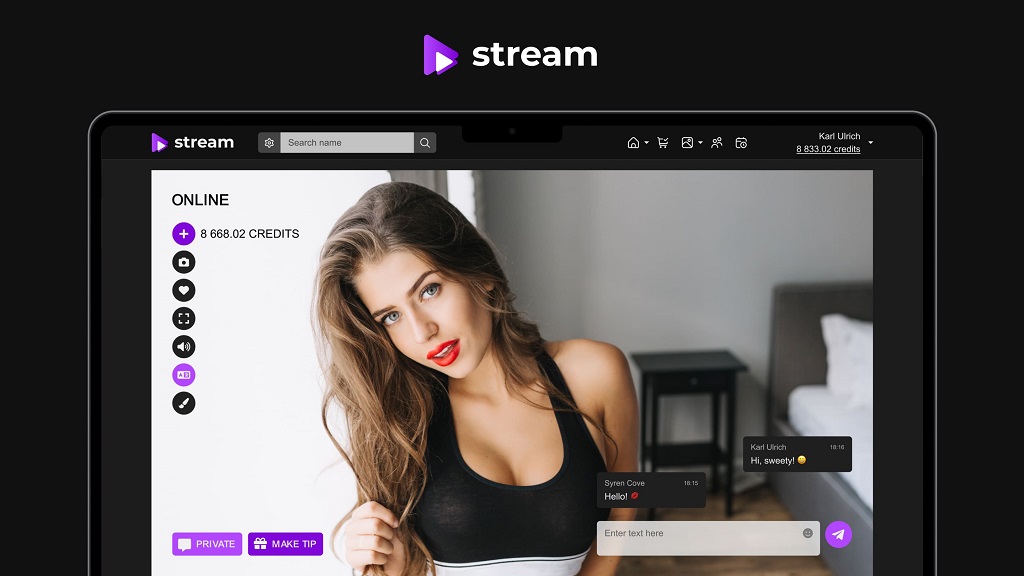
From Streamer to Stream Boss
What if you didn’t just go live on someone else’s platform — what if you owned the platform? That’s where Scrile Stream comes in. It’s not another place to stream. It’s a white-label development service that helps you launch your own streaming business. Think: your site, your rules, your revenue.
Instead of battling for attention on overcrowded platforms or giving away massive cuts to third-party hosts, Scrile Stream gives you total freedom. You decide how to charge — subscriptions, pay-per-view, tokens, tips. You design how it looks. And yes, you can even build something NSFW-friendly, without fear of demonetization.
Features You Can Customize
Scrile Stream is packed with modular tools to make your platform exactly what your audience needs — and what your brand deserves. You’re not stuck with someone else’s layout or limited by generic software.
Here’s what you can tweak and tailor:
- HD video with low-latency delivery
- Booking and scheduling tools
- Built-in payments: Stripe, crypto, and more
- NSFW support (if that’s your niche)
- Multilingual support for global reach
- Mobile-responsive design
Whether you’re a solo streamer tired of platform drama or an entrepreneur looking to tap into live video monetization, Scrile Stream lets you build a streaming site that finally works for you — not the other way around.
Final Thoughts – It’s Not About the Gear. It’s About the Setup
You don’t need a $3,000 rig to stream like a pro. What matters is how well your setup fits your style, audience, and goals. Clean video, crisp audio, a little personality — that’s what keeps viewers coming back.
Whether you’re just starting or ready to scale, the right setup builds trust. The right platform builds income.
If you’re serious about growing your livestream into a full business, Scrile Stream gives you the power to own it.
Contact the Scrile Stream team today and let their experts help bring your vision to life.
FAQ
What equipment do you need to start a live stream?
To kick off a basic live streaming equipment setup, you’ll need a decent laptop or PC, a webcam (built-in or external), a USB microphone, and a stable internet connection. Ring lights or natural lighting help with video clarity. Pair that with free tools like OBS Studio and you’re ready to stream — no studio required.
What equipment is needed to be a streamer?
Most streamers start with essentials: a reliable computer, webcam, microphone, and good lighting. But being a streamer is also about your comfort and efficiency — so tools like dual monitors, capture cards, or even a Stream Deck can really improve your game. Start with what you need, then upgrade based on your content type.
What are the hardware requirements for live streaming?
For a stable stream, aim for at least an Intel i5 CPU, 8GB RAM, and a solid-state drive (SSD). If you’re gaming or using a DSLR, you may need a dedicated GPU and capture card. Don’t forget upload speed — a minimum of 5 Mbps is essential. It’s all part of building a smart, effective live streaming equipment setup.