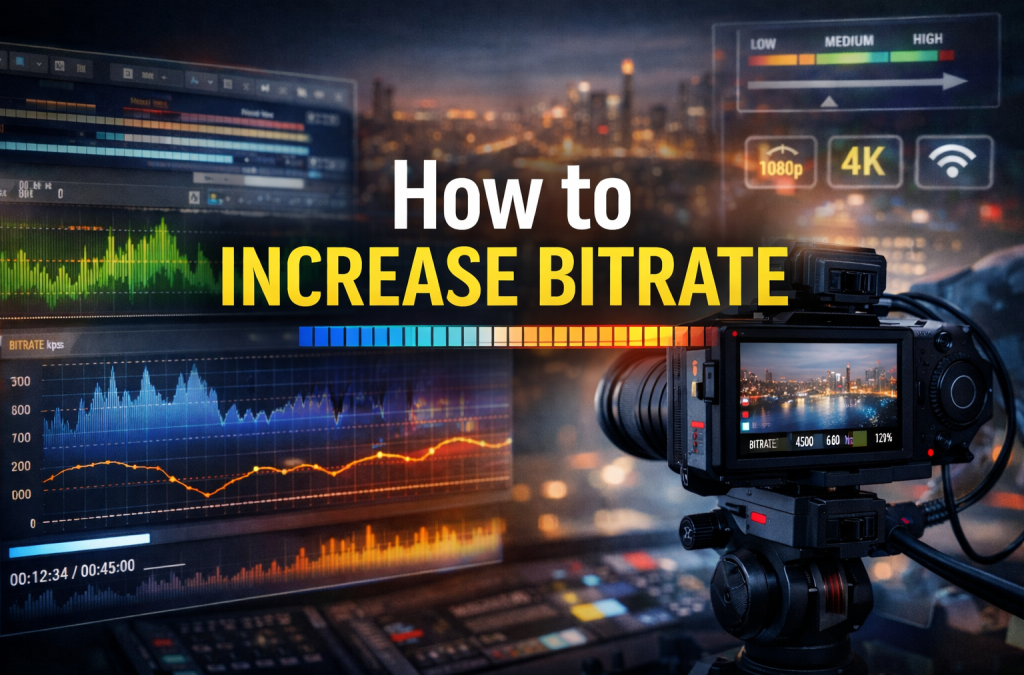

Bitrate is simply how much data a video carries every second, usually expressed in Kbps or Mbps. It is the invisible dial that decides how much visual detail survives compression. When more data is allowed through, textures look cleaner, gradients are smoother, and fast motion produces fewer blocks and smears.
The trade-off is cost. Higher bitrate means bigger files, heavier playback demands, and more pressure on your upload connection during broadcasting and live streaming. In practice, 1080p video typically sits around 3,500–6,000 Kbps, while 4K often lands between 20,000 and 35,000 Kbps. Local files can afford to be heavier; live streams usually run leaner to avoid buffering.
This is why many creators search for how to increase bitrate. They start with a low-bitrate file, see obvious artifacts, and try to raise quality without breaking performance.
How Bitrate Works And Why Increasing It Matters
Understanding how to increase bitrate becomes much clearer once you see how bitrate interacts with the other technical pieces of a video. It is not a single dial that magically improves quality. It works in a balance with resolution and frame rate, and every change ripples through the whole setup.
Bitrate vs Resolution and Frame Rate
Resolution determines how many pixels are on screen. Frame rate determines how often those pixels refresh. Bitrate decides how much data is available to describe them. At 1080p and 30 fps, many videos look clean around 3,500–5,000 Kbps. When you move to 60 fps, the same scene usually needs roughly 4,500–6,000 Kbps to avoid visible compression.
Moving from 1080p to 4K is an even bigger jump. You are dealing with about four times more pixels, so the data requirement rises sharply. That is why 4K commonly sits in the 20,000–35,000 Kbps range. If bitrate stays too low, fine textures disappear, motion looks smeared, and edges turn mushy. In those moments, creators begin experimenting with how to increase bit rate rather than just pushing resolution higher.
CBR vs VBR and Quality Impact
Constant Bitrate (CBR) sends the same amount of data every second, no matter what is happening on screen. This predictability is why it is widely used for live streaming and broadcasting, where stability matters more than perfect efficiency. Sudden drops or spikes can break a stream, so steady data flow wins.
Variable Bitrate (VBR) behaves differently. It spends more data on complex scenes and less on simple ones. For recorded videos and VOD, this usually produces better visual quality at a similar average bitrate. The downside is that VBR is less predictable in real time, which is why most streamers stick with CBR for live sessions and switch to VBR when exporting files.
Tip 1 — Choose the Right Encoder and Codec

The way a video is encoded often matters more than any single setting. If the codec is inefficient, trying to adjust numbers will not rescue quality. If the codec is smart, even modest bitrates can look clean.
H.264 (AVC) remains the safest choice for compatibility, but it is relatively wasteful with data. H.265 (HEVC) analyzes motion and texture more effectively, which is why it can deliver similar visual quality at roughly 30–50% lower bitrate than H.264. AV1 pushes efficiency even further, though it is slower to encode and still unevenly supported on hardware players.
This is where tools like HandBrake are actually useful. Instead of “boosting” a finished file, HandBrake lets you re-encode it with a better codec and a new target, which is often the only meaningful way to change video bitrate.
Practical moves that work in real life:
- Select H.265/HEVC if your playback devices support it. Many users see cleaner detail at the same data rate.
- If you must stay on H.264, use a slower encoder preset in HandBrake or your editor. Slower presets generally look better at the same bitrate.
- In professional editors such as Adobe Premiere, set the correct profile and level for your platform so it does not re-encode your file again later.
- Avoid simply raising numbers on a badly compressed source. Re-encoding with a stronger codec is usually a better path when you want to understand how to increase bitrate in a meaningful way.
Tip 2 — Adjust Bitrate Settings in Real Tools
Once your codec is sorted, the next real lever is where you actually set the numbers. This is where most people try to figure out how to increase bitrate, and where good intentions can easily turn into bigger files with no visible gain. The key is to treat bitrate as a tool, not a magic fix.
HandBrake Example
HandBrake is useful because it gives you two very different ways to control output. You can either target a specific average bitrate, or let the encoder decide quality with a constant quality (CQ) setting.
If you want to change bitrate directly, the path is simple: import your video → open the Video tab → set Avg Bitrate (kbps) to your target. Many people jump straight to very high numbers, but that rarely adds detail if the source is already heavily compressed. You cannot “create” missing information; you can only re-encode more intelligently so what is already there survives compression better.
A practical approach is to start near platform norms, preview a short clip, and adjust gradually.
Vegas (or similar editor) Example
In Vegas and most professional editors, bitrate is chosen during export. You pick a preset (for example, YouTube 1080p or 4K), then refine the target. These presets are useful starting points, but they are not sacred.
Raising the number far beyond the preset is often counterproductive. Extremely high bitrates can trigger re-encoding on platforms, increase upload time, and provide little visible benefit. A balanced range usually looks better than an extreme one when you change bitrate of video.
Streaming Encoders (OBS and others)
For live streaming, you adjust bitrate in your encoder rather than in a video editor. In OBS, the path is Settings → Output → Video Bitrate. This is where your internet speed becomes the real limit.
As a rule of thumb, your stream bitrate should sit comfortably below your upload capacity. If your upload is 6–8 Mbps, a 6,000–8,000 Kbps stream is the practical ceiling. Push higher and you risk dropped frames and instability, which defeats the whole purpose of trying to improve quality.
Tip 3 — Optimize Source Before Encoding
If you want to learn how to increase bitrate of video in a meaningful way, you have to start with the source. When the source is noisy, unstable, or cluttered, the encoder spends bits on garbage instead of real detail, and the result looks worse even at higher numbers.
Noise and grain are especially wasteful. Random speckles, compression artifacts, and uneven color force the encoder to burn data where it does not matter, which leaves less room for actual textures and motion. Cleaning the image first often improves quality more than pushing bitrate higher.
Practical steps that actually help:
- apply a light denoise filter to remove random grain without softening detail
- fix crushed shadows or blown-out highlights so gradients compress more cleanly
- balance colors before encoding so the encoder does not fight extreme values
- crop out black bars or empty borders that only consume data
- trim shaky or unusable clips that do not need to be preserved
- stabilize footage so the encoder does not chase unnecessary motion
- avoid heavy effects until you have a clean, high-quality master
In Adobe Premiere, a gentle denoise pass followed by basic color cleanup and stabilization usually produces a visibly cleaner result at the same bitrate. When the source is simpler and cleaner, every kilobit you allocate works harder, and the final video looks sharper without blindly increasing numbers.
Tip 4 — Match Bitrate to Delivery Channel

Bitrate that looks perfect in your editor can fall apart once the video leaves your computer. Knowing how to change video bitrate for the destination is often more important than chasing the highest possible number.
Streaming Platforms vs Local Files
Online platforms apply their own compression, so your upload is rarely what viewers see. For YouTube, a practical baseline for 1080p at 30 fps sits around 3,500–6,000 Kbps. If you go far above that, YouTube will usually re-encode anyway, which can cancel out any gains you tried to buy with extra data.
Facebook and Twitch behave differently. Twitch is stricter with maximum bitrates, especially for non-partnered channels, which makes efficiency more valuable than raw data. Facebook tends to be more forgiving with uploads but still recompresses aggressively.
Live streams and recorded uploads also follow different logic. For VOD, you can lean slightly higher because buffering is less risky. For live broadcasting, stability matters more, so staying within safe ranges is usually smarter than pushing the ceiling.
Playback Constraints
Screens change what “enough” actually means. On a phone, slightly lower bitrate can look fine because the display is small and viewers are often on mobile data. On a large TV, artifacts become obvious, so you may want to be closer to the top of the recommended range.
Network reality also shapes choices. A wired connection can comfortably handle higher bitrates. 4G and even 5G connections fluctuate, which makes conservative settings safer for live streams.
Tip 5 — Monitor and Adjust in Real Time

Once your stream or export is running, numbers on a screen tell only half the story. Learning how to increase bitrate effectively also means watching what actually happens to the picture and reacting to it, not just chasing higher settings.
Start with your eyes. Look closely at fast movement, dark areas, and textured surfaces. Macroblocking shows up as chunky squares in motion-heavy scenes. Banding appears as visible steps in skies or gradients. Fine detail starts to smear when the encoder runs out of breathing room. Sometimes a small bump in bitrate cleans these issues instantly. Other times, you can double the number and see almost no improvement, which is a clear sign that something else in your chain needs attention.
Context matters. A talking head shot can look clean at a modest bitrate, while a gaming stream or sports broadcast needs more data because the image changes constantly. Adjust in small steps, and watch the result.
Tools can make this process less guesswork and more intentional:
- use a waveform monitor and histogram to spot crushed shadows, clipped highlights, and uneven exposure that make compression harder
- check motion-heavy clips frame by frame to see where artifacts first appear
- compare short test renders with slightly different settings before committing to a long export
- in live workflows, keep an eye on dropped frames, encoder load, and network stability in OBS or your streaming software
Real-time tuning is about balance. The goal is a stable stream or clean file, not the highest possible bitrate.
Scrile Stream — Build a Platform That Manages Bitrate Your Way

Teams often learn how to increase bitrate the hard way: by hitting the ceiling of ready-made tools. Scrile Stream exists for the moment when those ceilings become real blockers. It is not a platform you subscribe to. It is a custom development service that builds your own streaming system around your technical and business needs.
For developers, bitrate control is not about one slider. It is about adaptive streaming, multi-profile outputs, and the ability to shape quality in real time. Scrile Stream lets you design that logic instead of accepting someone else’s defaults. You can implement ABR ladders that react to viewer bandwidth, manage encoding profiles per session, and expose console tools that make live tuning practical rather than experimental.
What this enables in practice:
- Custom bitrate ladders for different viewers, devices, and network conditions.
- Backend logic that adjusts bitrates per session instead of one-size-fits-all rules.
- Analytics that connect visual quality to playback performance and viewer retention.
- Deep integration with CDNs and player SDKs that actually respect your chosen bitrates.
Most off-the-shelf streaming products cap how far you can go — fixed profiles, rigid workflows, limited telemetry. A Scrile Stream build moves in the opposite direction. As your audience grows, devices diversify, and expectations rise, your system evolves with you rather than forcing you to compromise.
Conclusion
Bitrate is not magic — it is numbers aligned with real viewing conditions. Careful choices turn guesswork into measurable quality gains, and modern encoding workflows make tuning faster and more reliable. When bitrate is treated as part of a broader, customizable delivery stack rather than a single slider, results become consistent instead of accidental. If you want full control over encoding profiles, adaptive streaming, and performance analytics, explore Scrile Stream solutions and build a quality pipeline that grows with your broadcasts.
FAQ
How do I increase my bitrate?
You cannot upgrade a finished low-bitrate file by itself. To truly raise it, re-encode the original footage in a video editor with a higher bitrate setting.
How to enhance bitrate on YouTube?
Open the settings cog during playback. On mobile, go to Quality → Advanced and enable Enhanced Bitrate. In a browser, select the higher quality option from the same menu.
What is a good bitrate for 1080p?
For 1080p, aim for 3,500–6,000 Kbps. Use 3,500–5,000 Kbps at 30 fps and 4,500–6,000 Kbps at 60 fps.