A stream tells its story before you even speak. People notice the image first — if it feels clear, stable, confident. Or if it looks like a blurry, blocky mess where the audio echoes like you’re talking inside a tin can. Viewers don’t usually analyze it. They just feel it. And they leave quickly when something feels off. That’s why understanding how to improve streaming quality matters, even if you’re just starting out or streaming from a small room with a basic setup.
The good part? You don’t need studio lights, $800 microphones, or a space-age camera arm to make your stream look better. Most improvements come from simple choices: internet stability, bitrate adjustments, lighting angles, how close you keep the microphone, how your room absorbs or reflects sound. Small things stack up. This guide walks through practical steps that actually change the way your stream feels — without chasing expensive gear.
Tip 1 — Stabilize Your Internet Connection
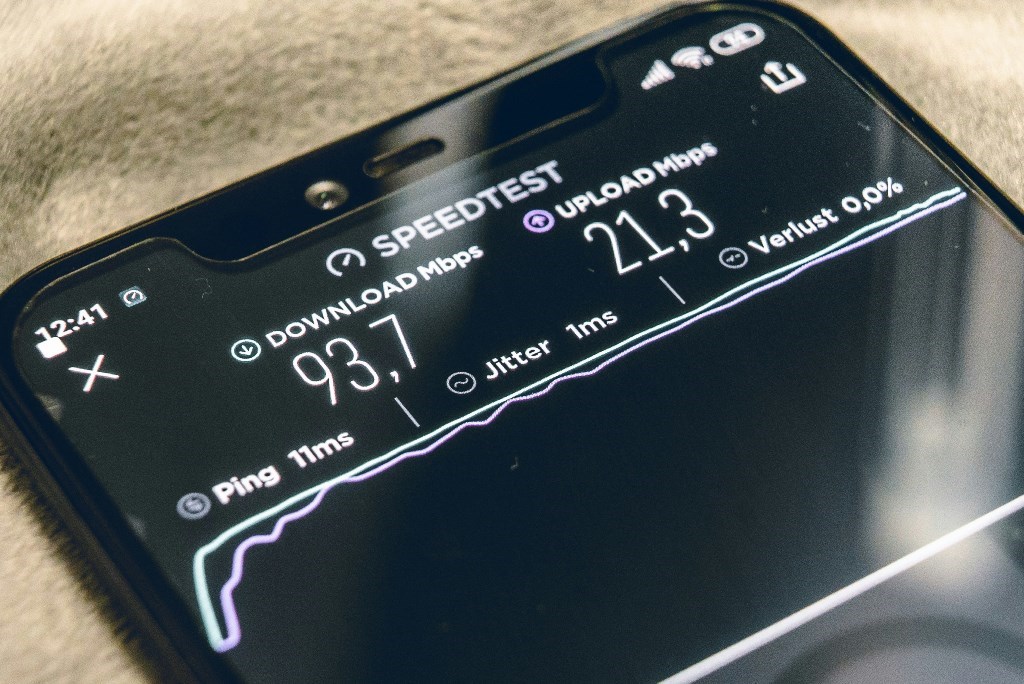
Streaming depends on upload speed, not download. Most people check the big number their provider advertises and assume they’re covered, but the number that actually matters is usually smaller and hidden. If your upload speed is low or inconsistent, the stream will freeze, smear, or drop frames. That’s where people immediately feel something is “off.”
A wired Ethernet cable is your best friend here. Wi-Fi is like trying to hold a conversation in a loud room — the signal keeps getting interrupted by walls, other devices, and random interference. Ethernet is a direct line. No guessing. No signal drift. Just a steady stream of data out of your machine.
Before going live, clear anything that quietly steals bandwidth. The usual suspects:
- Cloud backup apps syncing in the background
- Game launchers downloading updates
- Video calls happening in the same house
- Tabs playing random “muted” videos
When you start adjusting how to improve streaming quality, think in terms of balance. Run a quick speed test. Take your upload speed and use only about half of it for your stream’s bitrate. This gives your internet breathing room, so the moment someone in your house watches a short clip, your stream doesn’t break apart.
This small shift alone already helps how to make your stream look better without spending anything.
Tip 2 — Balance Resolution and Bitrate
A common assumption is that pushing your stream to 1080p will automatically make it look professional. But resolution doesn’t decide clarity on its own — bitrate does. If the bitrate is too low, the image turns into mush every time there’s movement. A clean 720p stream with enough bitrate will look sharper than a starving 1080p stream that can’t breathe. That’s one of the easiest ways to improve streaming quality without upgrading gear.
Here’s a simple way to think about it: resolution is the size of the picture, bitrate is how much detail fits inside it. When you stretch a picture with too little detail, it falls apart.
Some everyday workable ranges:
- 720p → ~3000 to 4500 kbps
- 1080p → ~4500 to 6000 kbps
The best approach is to test. Record short samples — five to ten seconds is enough. Move your hands. Turn your head. See how the stream handles motion, not just stillness. Pixelation usually appears when things move, not when everything is still.
If your system or internet has limits, lowering the resolution just slightly can make the stream feel cleaner and smoother overall. Many creators discover that this adjustment is the real answer to how to make my stream quality better — not chasing the biggest resolution number possible.
Tip 3 — Tweak Encoder Settings Smartly
The encoder is the part of your streaming setup that turns the raw video into data your viewers can actually watch. There are two main approaches. x264 uses your CPU to do the work. It’s flexible, detailed, and common — but it can also be heavy. If your CPU is already busy running a game or multiple apps, x264 can make everything slow and jittery. That’s when the stream starts to hitch.
Most modern systems also have a hardware encoder built into the GPU — things like NVENC (NVIDIA), VCE (AMD), or the built-in video engine on Macs. These are designed to handle encoding without stressing the rest of the computer. Switching to a hardware encoder can feel like suddenly clearing a traffic jam.
If you’re thinking about how to improve streaming quality without buying new gear, this is one of the simplest wins. Inside OBS or your streaming app, locate the encoder preset. Try switching from x264 to NVENC (or the equivalent for your GPU). Then, choose a slightly faster preset. A “faster” preset doesn’t mean worse quality — it just means the computer works less per frame, which leads to fewer drops, fewer stutters, and a stream that feels stable from start to finish.
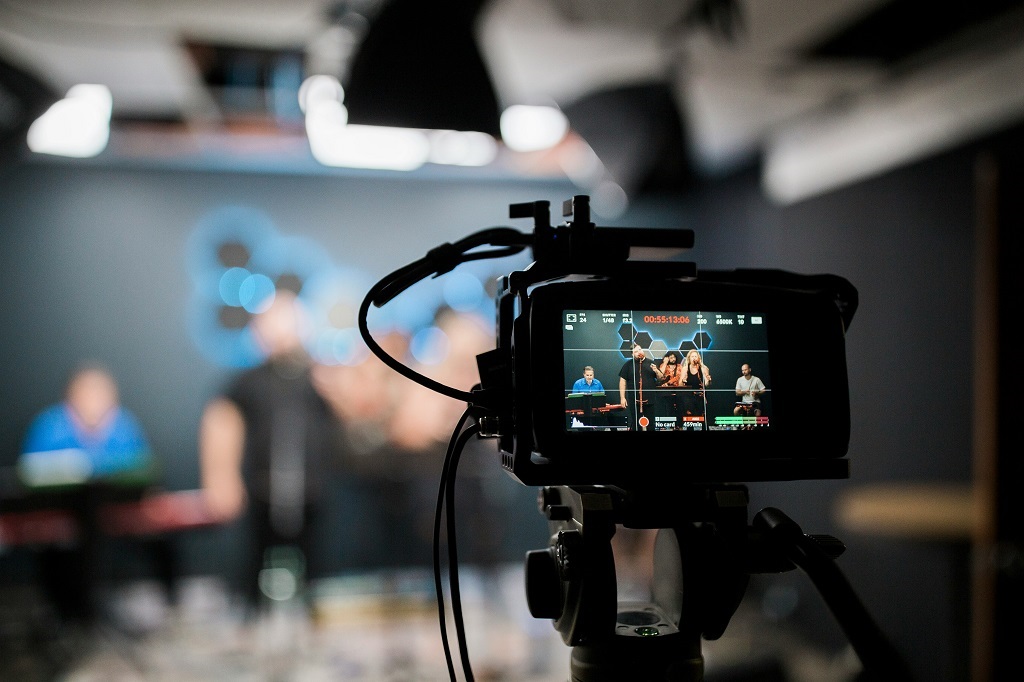
Tip 4 — Lighting and Camera Setup Make a Big Difference

When a stream looks “bad,” people often blame the camera first. But in most cases, the real issue is lighting. Even an average webcam can look surprisingly clean when the light is soft and aimed the right way. And even a great camera will look grainy and muddy in a dark room.
The easiest improvement: place a soft light source in front of you, slightly above eye level. A desk lamp bounced off a wall works. A cheap ring light turned down low works. What matters is diffusion — avoid the sharp, harsh overhead light that casts strong shadows and makes faces look tired.
Camera angle plays a role too. A camera slightly above your eyes gives a more natural and open look. Straight-on from below never feels good for anyone.
You don’t need a studio. Some streamers use:
- A lamp with a sheet of paper taped over it as a diffuser
- A monitor displaying a bright white background for soft fill
- A $10 LED strip bounced off a wall for warmth
Small shifts like these can quietly transform how to improve stream quality without spending much. Lighting shapes mood, clarity, and how people feel when they watch you — and it’s almost always the most cost-effective upgrade.
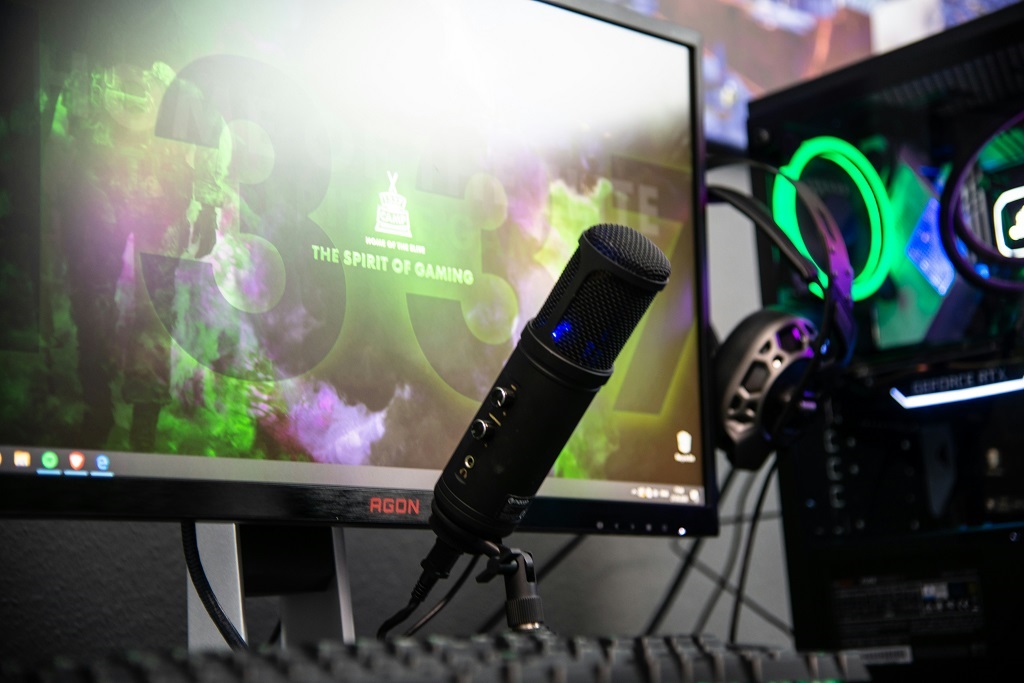
Tip 5 — Improve Audio Quality
People will forgive a slightly soft image. They rarely forgive bad audio. If your stream sounds hollow, metallic, or full of room echo, viewers disconnect fast — even if they don’t say anything in the chat. Sound carries presence. It tells people you’re actually there.
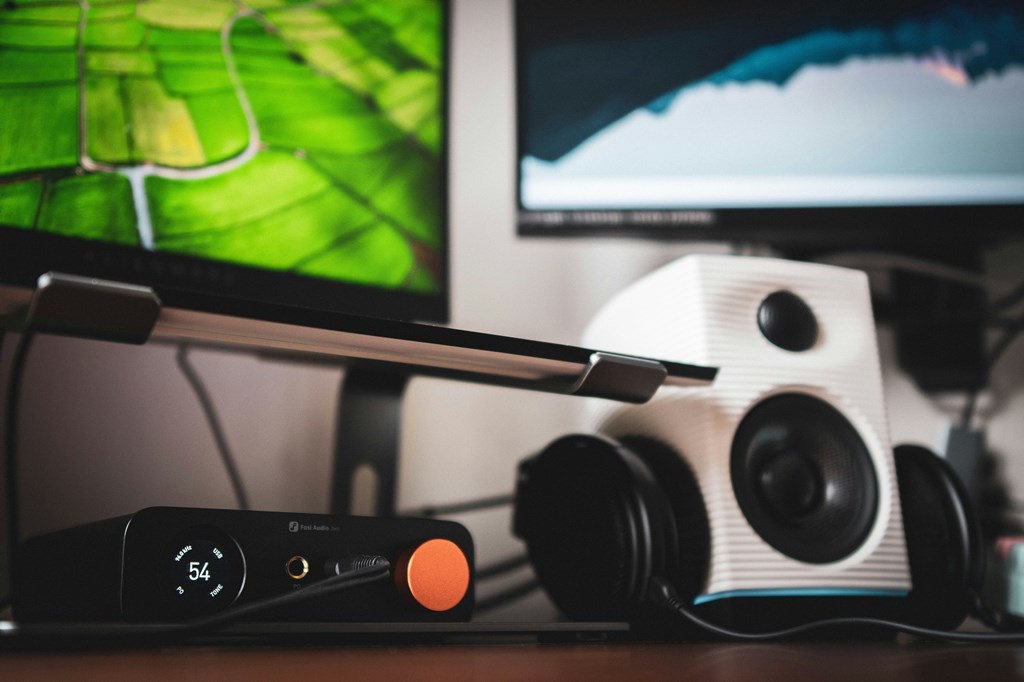
A simple external USB microphone is usually a big step up from a built-in laptop mic. But placement matters more than price. Keep the mic close — about a hand’s distance from your mouth — and turn the input gain down. Less gain means less background noise and less room echo. It’s one of the real answers to how to make stream quality better without expensive upgrades.
Most streaming software gives you helpful tools right away. In OBS, look at Noise Gate, Noise Suppression, and Compressor filters. They help shape and clean the sound so the voice feels immediate instead of distant. A small adjustment to these settings often improves clarity more than changing microphones.
If you’ve been wondering how to adjust streaming quality in a way people actually notice, start with sound. Viewers will stay longer when they can hear you clearly — even if the visuals are still a work in progress.
Tip 6 — Reduce Device/System Load
A stream can look perfect during setup and then fall apart the moment you go live. Often, the issue isn’t the internet or the camera — it’s your computer struggling under everything running at once. When the system gets overloaded, frames start dropping and motion turns choppy.
Before streaming, clean up what your device is doing in the background. Browsers with 15 open tabs, game launchers checking for updates, and chat apps syncing messages all eat memory and CPU. They don’t seem heavy individually, but together they push the system into stress.
If you’re streaming a game, try lowering the in-game graphics just a little. This frees resources for the encoder to work more smoothly. Most viewers can’t tell whether shadows are on “High” or “Medium,” but they will notice when the stream stutters.
Watch your temperatures too. When a system overheats, it slows itself down to avoid damage, and that slowdown hits the stream immediately.
Quick habits that help:
- Close unused browser tabs and background apps
- Disable auto-updates during stream time
- Lower game graphics slightly if needed
- Keep your computer in a well-ventilated space
Small adjustments here go surprisingly far in keeping a stream steady and watchable.
Tip 7 — Test and Adjust Before Going Live
A stream feels smooth when everything works together — motion, sound, timing. That balance is easier to achieve when you check things before anyone is watching. A quick private test recording can reveal issues you wouldn’t notice while focusing on going live. Move around, talk normally, switch windows, play a bit of the game if that’s part of your setup. You’re looking for motion blur, audio clipping, or your voice falling out of sync with your camera.
This step is one of the simplest ways to understand how to improve streaming quality without guessing. Five minutes of testing can save you an hour of frustration while live.
Make it a small routine:
- Record a short clip
- Watch it back for a few seconds
- Adjust one thing at a time
Consistency grows from repetition. The more often you check, the more natural it becomes to fix problems before your viewers ever see them.
Scrile Stream — Custom Streaming Done Right

Some creators reach a point where basic apps and off-the-shelf platforms just don’t fit anymore. Maybe you’re building a community where members pay for access, or you’re hosting private coaching streams, or you want your own branded space rather than broadcasting under someone else’s logo. This is where Scrile Stream makes sense. It’s not a generic streaming platform. It’s a custom-built streaming solution shaped around the way you work.
Instead of forcing your content into preset layouts and limited controls, Scrile Stream creates an environment that feels like your own studio. It’s built for people who need their streaming space to reflect who they are and what they offer — not just another channel in a crowded feed.
Scrile Stream works well for:
- Private membership communities
- Paid workshops or training broadcasts
- Creators launching their own branded video platforms
The advantage is control. You get performance tuning based on your actual needs, custom monetization options that match your model, and full white-label branding so your audience experiences your world, not someone else’s. If you’ve been exploring how to improve streaming quality in a way that scales with your growth, a custom setup like this gives you stability, identity, and room to expand over time.
Conclusion
Improving streaming quality usually comes from practical adjustments: a steadier connection, balanced bitrate, better lighting, cleaner audio, and quick test runs before going live. These changes shape how your stream feels and how long viewers stay. When you’re ready to build a streaming experience that reflects your brand and supports your community, Scrile Stream can create a custom setup designed around your workflow. Contact Scrile Stream team today to develop a streaming environment that grows with you.
FAQ
Can you improve streaming quality?
Yes. Start by using a wired Ethernet connection to keep your upload speed steady. Limit other devices or apps that use bandwidth, and match your stream’s bitrate to a comfortable portion of your upload speed. This is one of the simplest ways to understand how to improve streaming quality without changing equipment.
Why is my stream quality so bad?
It often comes from a combination of bandwidth limits, encoder strain, and background programs using system resources. If your CPU or GPU is overloaded, frames drop. If upload speed is unstable, the picture breaks apart.
How to make streamable quality better?
Use stable internet, pick a bitrate that fits your upload, adjust encoder settings, improve lighting, clean up audio, reduce system load, and test before going live.